| There is a problem right now with this block. |
|
3-7. g. - Update (August 16 - 31, 2009)
|
g. - Update (August 16 - 31, 2009) rn rn rn rn | Update (August 16, 2009): Acquire a second Kohler K-90 Engine, which turns out to be closer to original spec. and in far better condition than the first one acquired. I will certainly now have all the parts necessary to get one complete spec engine from the two with very little work or repair parts required. Both engines will be completely disassembled, blue-printed for internal part sizes and a determination of next steps will be made depending on what is found. | rn rn rn | | rn | rn | rn | rn rn rn 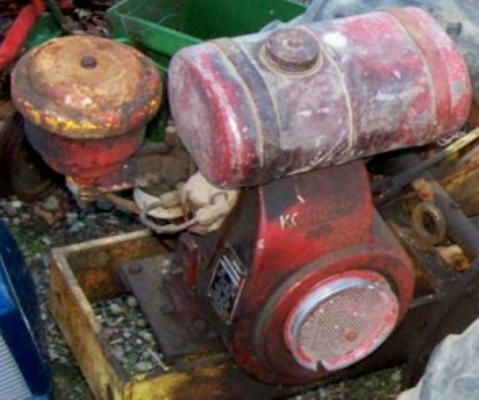 | rn 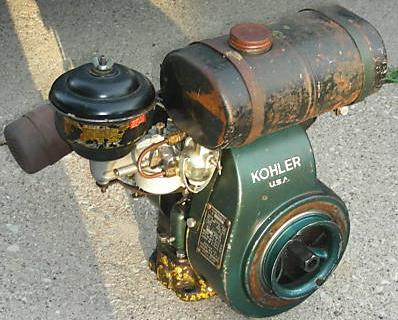 | rn | rn | rn rn rn | First Kohler K-90 Engine Acquired | rn Second Kohler K-90 Engine Acquired | rn | rn | rn rn rn | | rn | rn | rn | rn rn rn | Update (August 17, 2009): Continued restoration of the hood assembly. As much as I did not want to apply Bondo to the hood, closer inspection after primer application revealed a much wavier hood than previously expected. I decided to remove the primer from the area requiring fill plus about 1-1/2" around it, and apply Bondo. The area is about 6" square and roughly centered on the hood between the fill hole and mounting screw holes. Once sanded flush with surrounding areas and previously applied primer sanded flush, hood was re-primed and 220 grit sanded using a block sander. Continued sanding with dry 220, wet 400, 800 and 1500 grit papers. filled several spots with glazing putty, spot sanded with 220, and wet 400. 800, and 1500 grit papers. Cleaned entire surface with Simple Green mixture and a Scotch-Brite pad (red/maroon), and rinsed with clean water. Applied first coat of paint to inside of hood and straps. | rn rn rn | | rn | rn | rn | rn rn rn 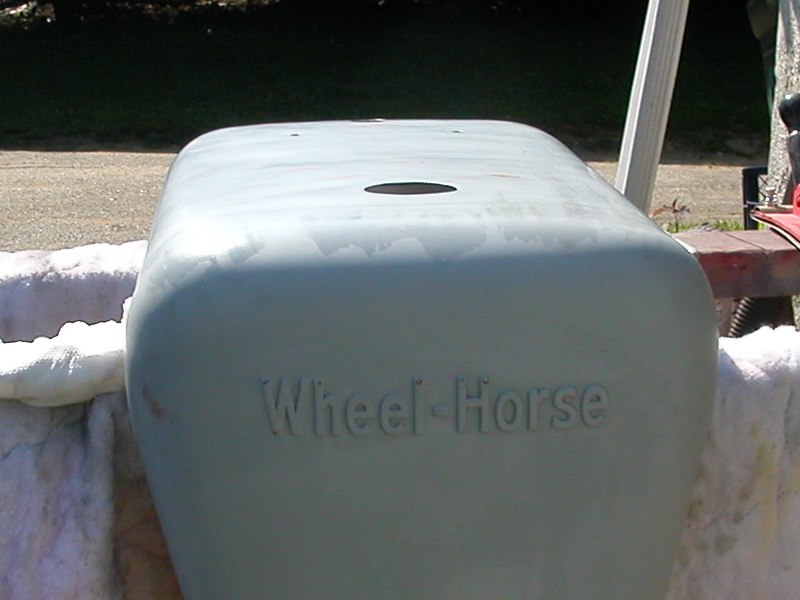 | rn 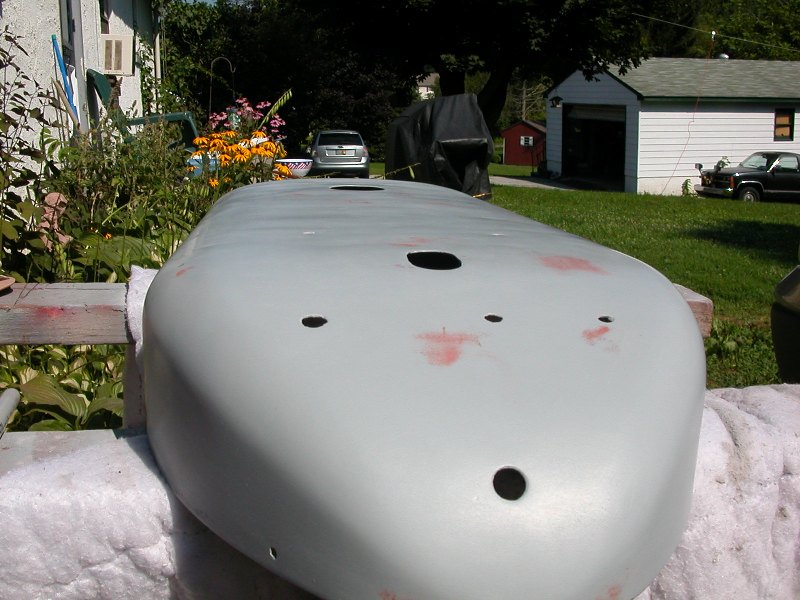 | rn 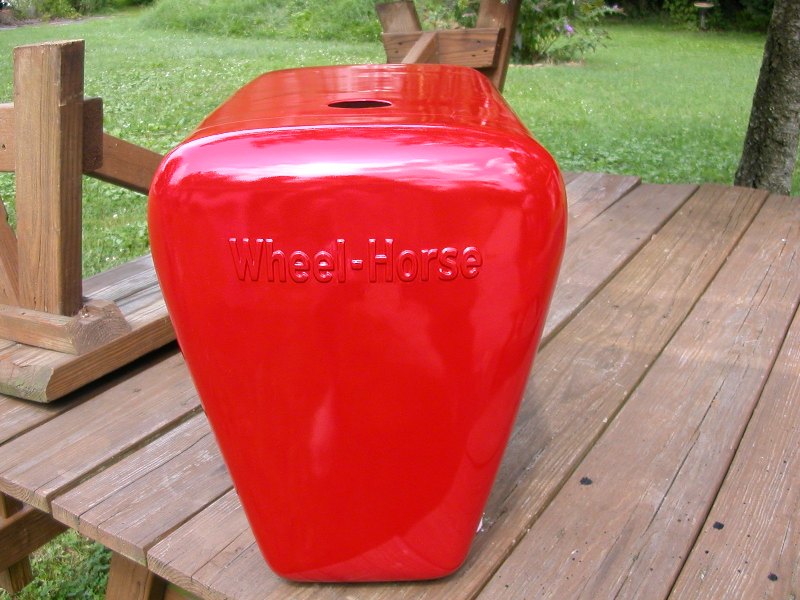 | rn | rn rn rn | Hood before Bondo | rn Hood before Bondo | rn Hood after Bondo and first coat of paint | rn | rn rn rn | | rn | rn | rn | rn rn rn | Update (August 18, 2009): Continued restoration of the hood assembly. re-wet sanded to 1500 grit and cleaned with Simple Green and Scotch-Brite. Rinsed with clean water and allowed to thoroughly dry in the sun. Applied first coat of paint to the outside, waited 45 minutes and applied the second coat. Will allow hood to dry for 24 hours, and will wet sand to 2000 grit before applying second series of coats to the interior sides. | rn rn rn 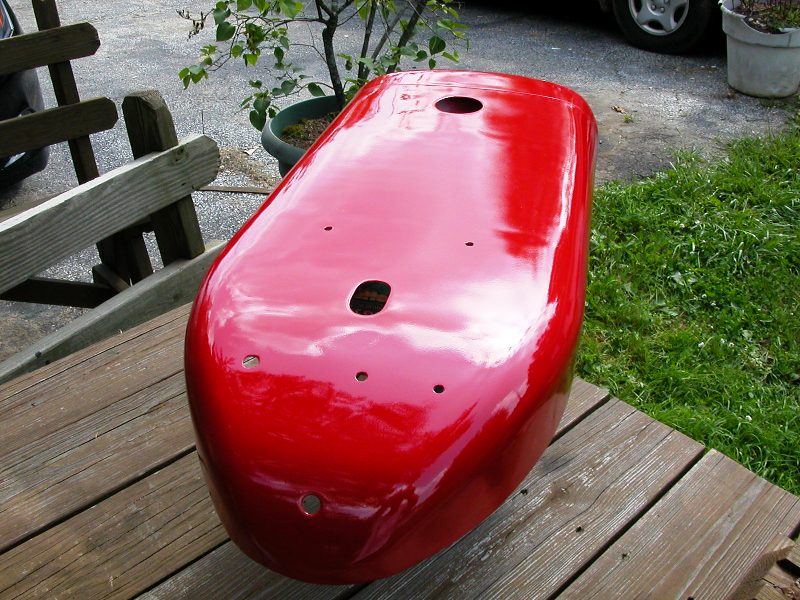 | rn 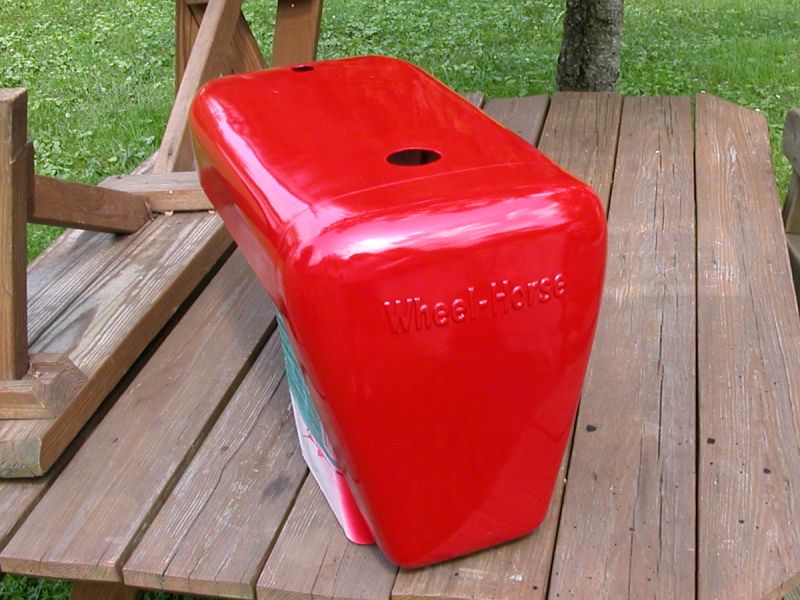 | rn 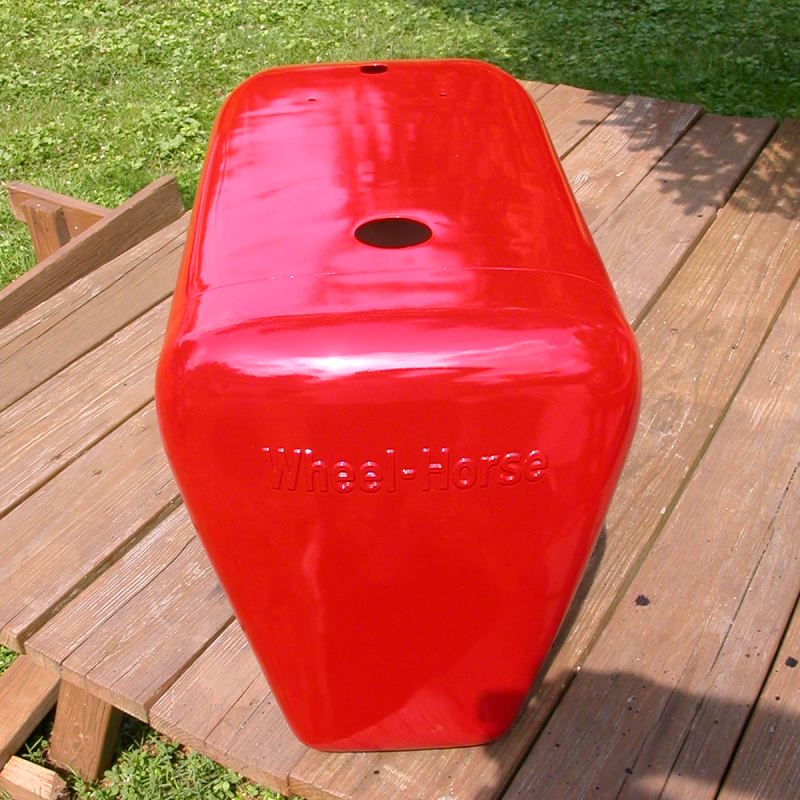 | rn 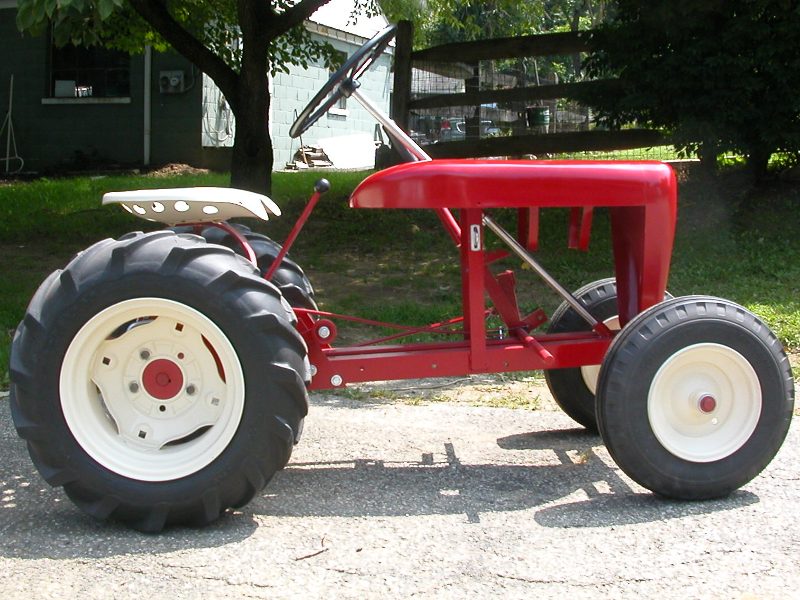 | rn rn rn | After second Coat of IH Red | rn After second Coat of IH Red | rn After second Coat of IH Red | rn Almost Whole Again! | rn rn rn | | rn | rn | rn | rn rn rn | rn Update (August 27, 2009): The second engine arrived yesterday, performed a complete disassembly and primed all of the tin parts. The engine is in surprisingly good condition for its age and apparently has never needed to be bored over-sized. All of the ignition parts are new or NOS, and everything else looks to be in order. rn | rn rn rn 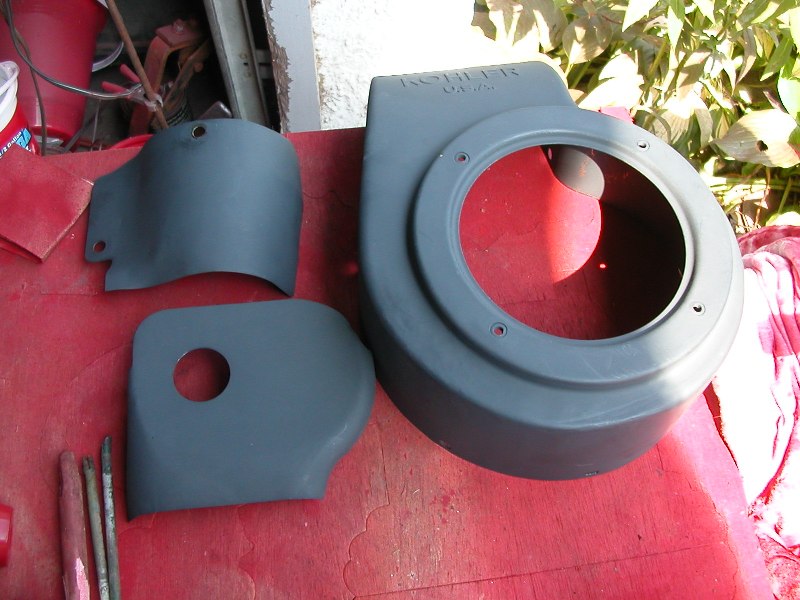 | rn 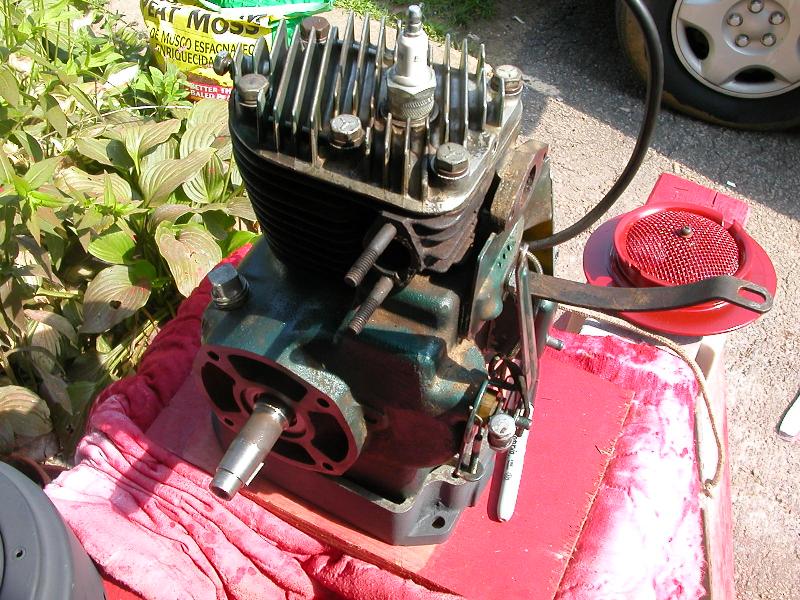 | rn 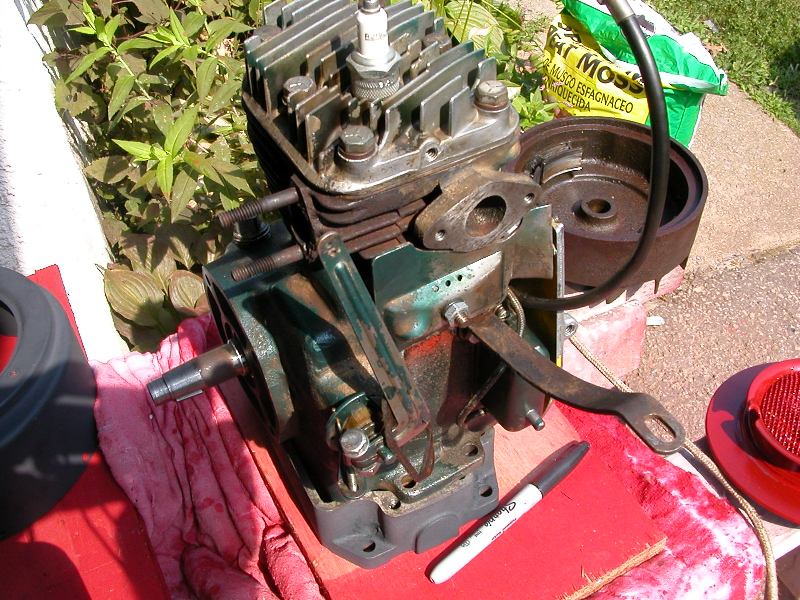 | rn 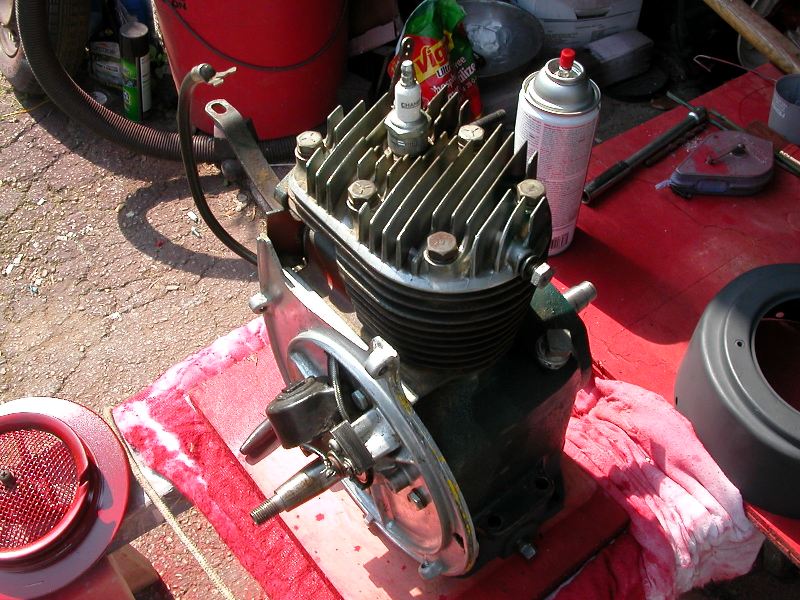 | rn rn rn 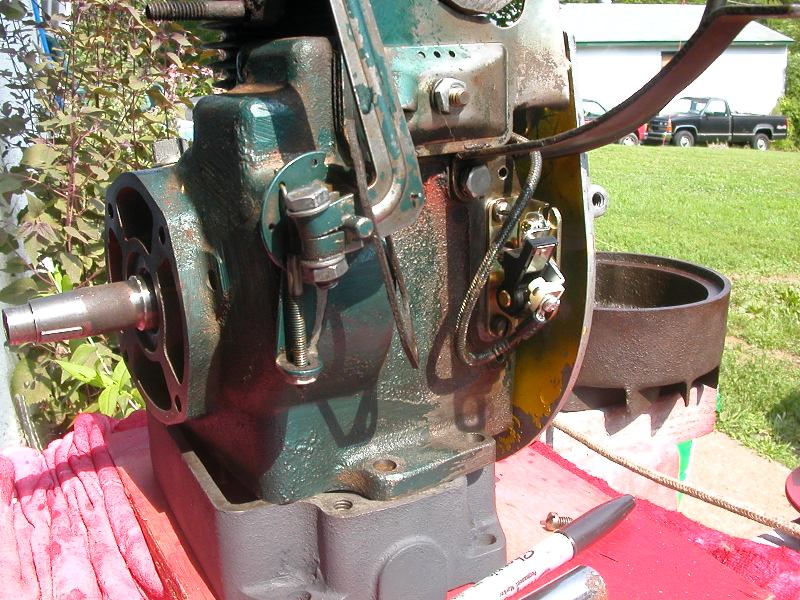 | rn 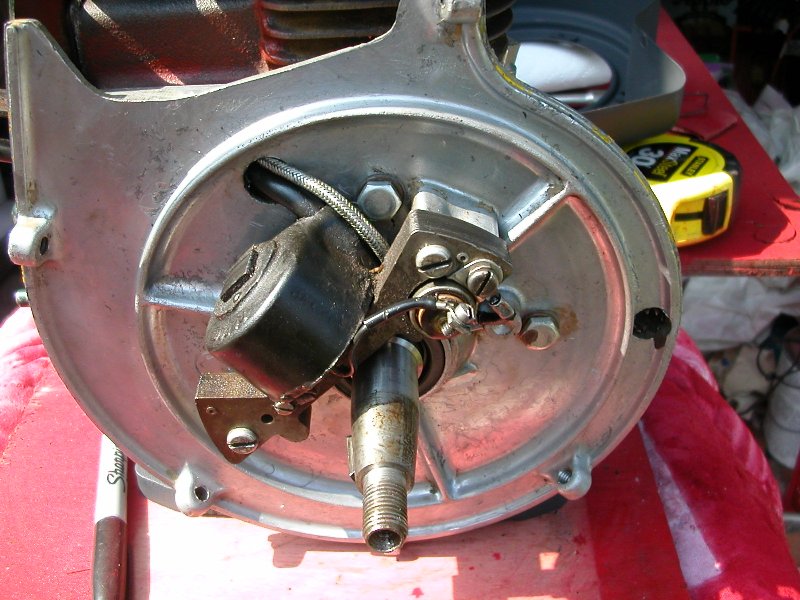 | rn 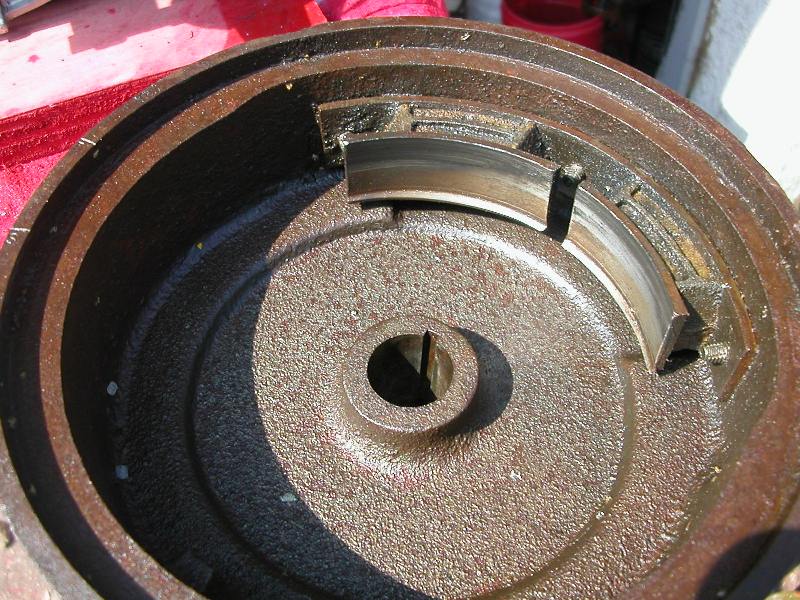 | rn 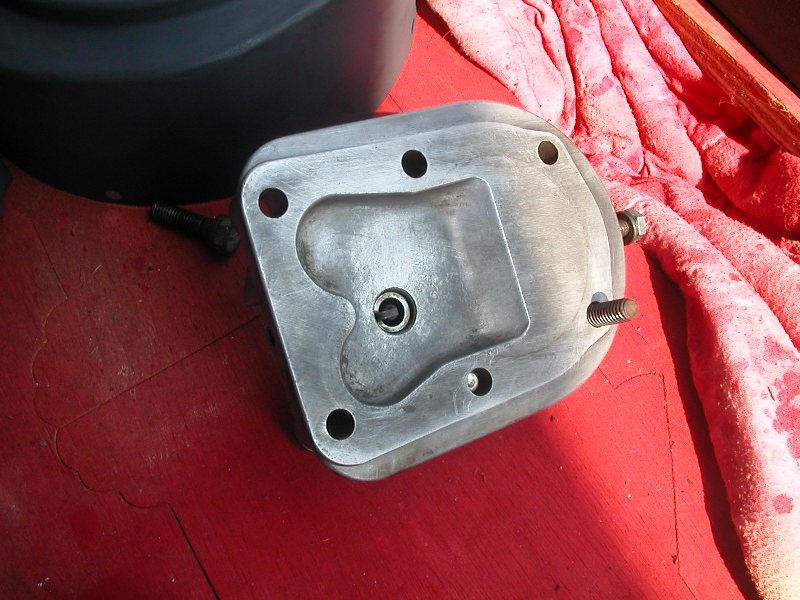 | rn rn rn 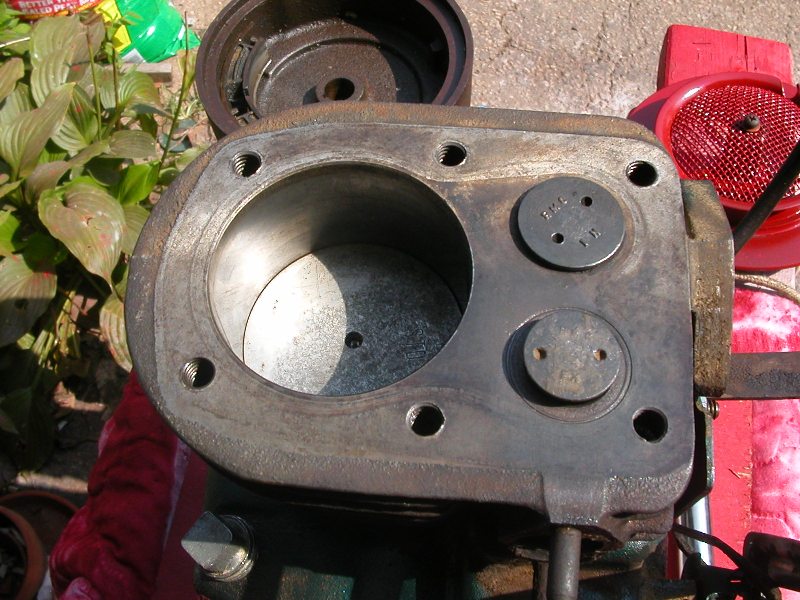 | rn 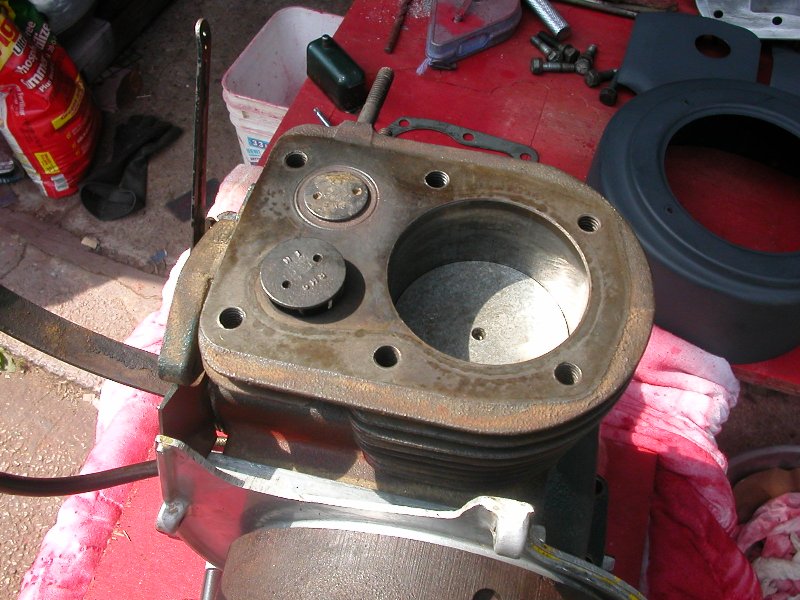 | rn | rn | rn rn rn | | rn | rn | rn | rn rn rn Update (August 31, 2009): The hood has been completed and the decals installed. The hood received three coats of clear over three coats of color. Sanded down to 2000 grit and polished to a high shine. I also got then throttle cluster installed, but need to locate a rubber bushing for the throttle cable pass-through hole, in order to protect the surrounding paint from scratches.
rn
rn Deeper inspection of the Kohler K90 Engine show that the cylinder, crank shaft, and cam shaft all measure within specification, the connecting rod is the old style and will be replaced with a new style requiring the replacement of the piston, wrist pin, and rings. All of the original ignition parts are brand new and will be retained. Unfortunately the valves are another story. Both are leaking like sieves and will require rebuilding. New valves, guides and seats will be installed at the machine shop, and the shop will also perform the valve lapping as well. Upon return from the machine shop all of the new parts will be installed along with a complete carburetor rebuild kit and a new engine gasket kit. Once assembled the engine will be painted using Dupli-Color Engine Red. All of the engine tin parts will be painted with Valspar IH Red to complete the engine for installation. Once the grommet is located the final "dashboard" image will be posted along with several views of the correct engine "kill" switch. | rn rn rn 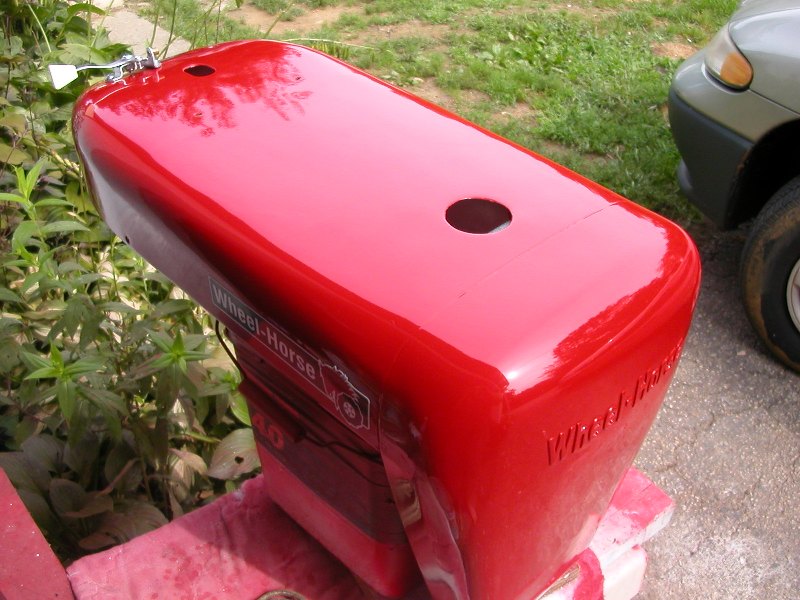 | rn 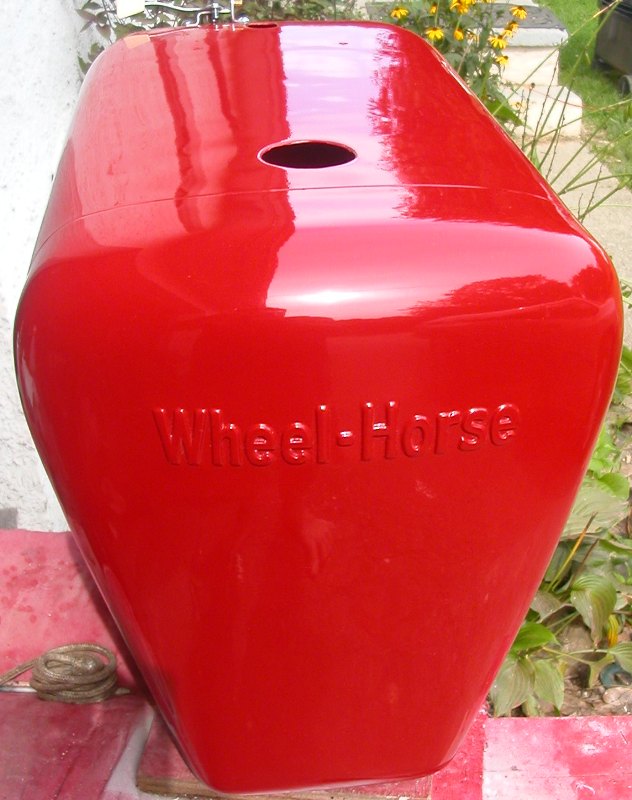 | rn 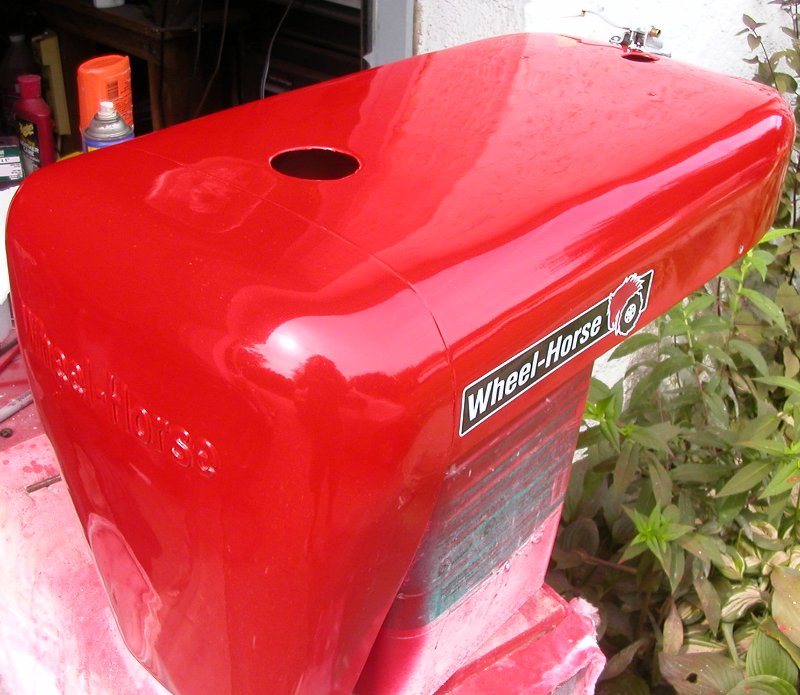 | rn 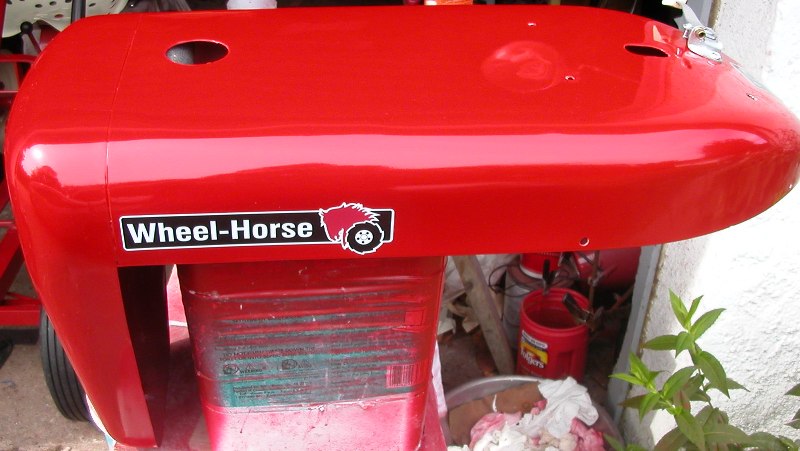 | rn rn rn | Right-Side Detail | rn Front Detail | rn Left-Corner Detail | rn Left-Side Detail | rn rn rn 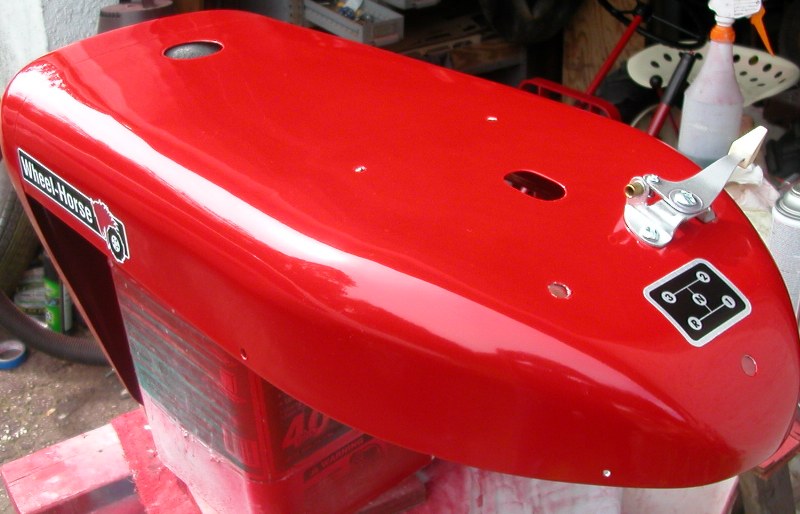 | rn 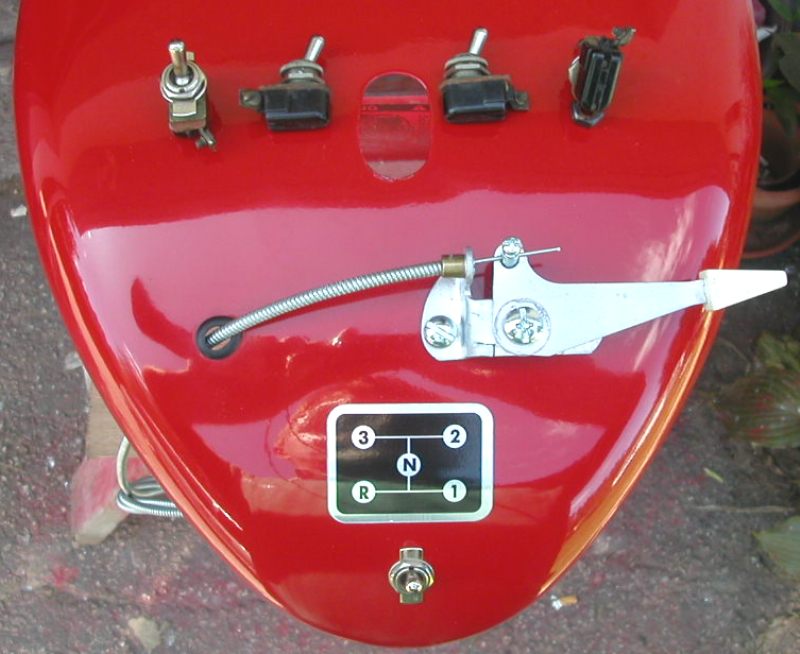 | rn | rn | rn rn rn | Rear-Left Side Detail | rn "Dashboard" Detail | rn | rn | rn rn rn | | rn | rn | rn | rn rn rn | Update (August 31, 2009): Just a picture update during completion of hood installation and check-fitting the plow. An interesting side note about the plow. As it is pictured below, the plow is completely un-molested meaning it has not been painted in 51 years. The paint you see is completely original and in reasonably good condition other than the normal age-fading. As evidenced by the picture, the color match to the Valspar IH RED is quite good. | rn rn rn 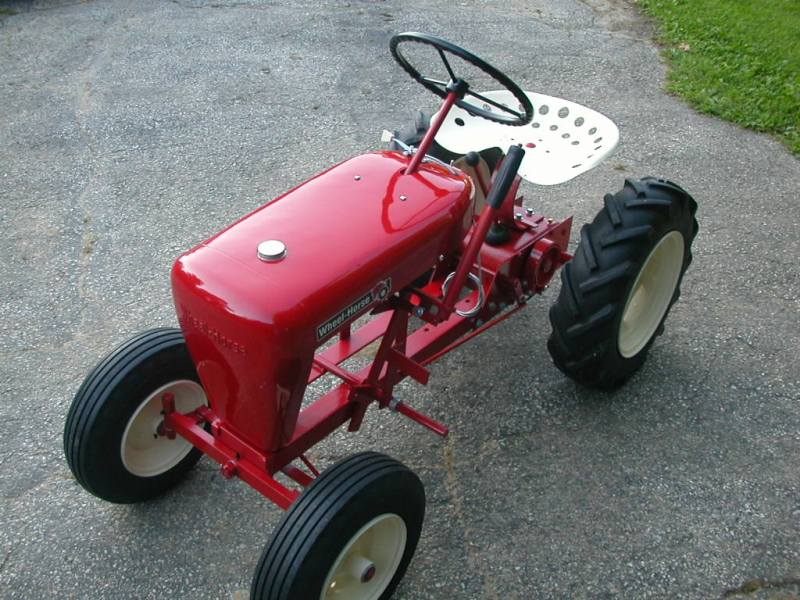 | rn 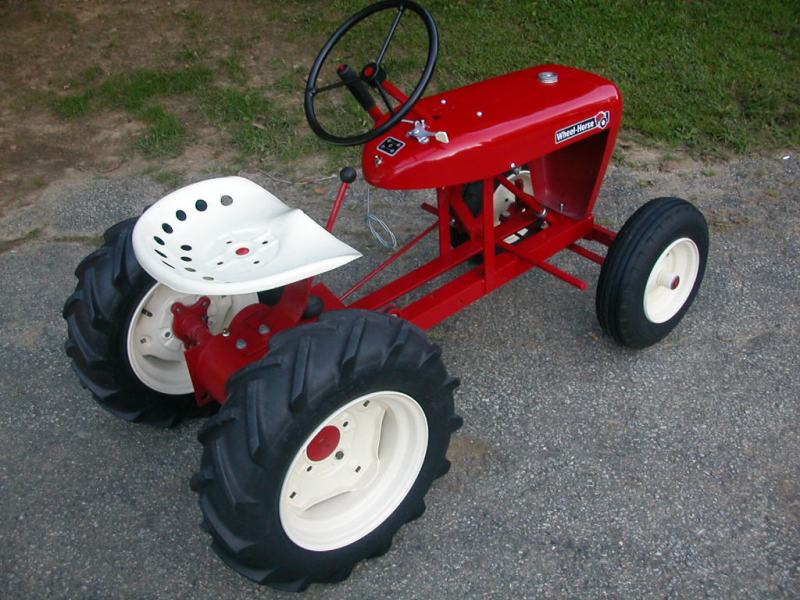 | rn 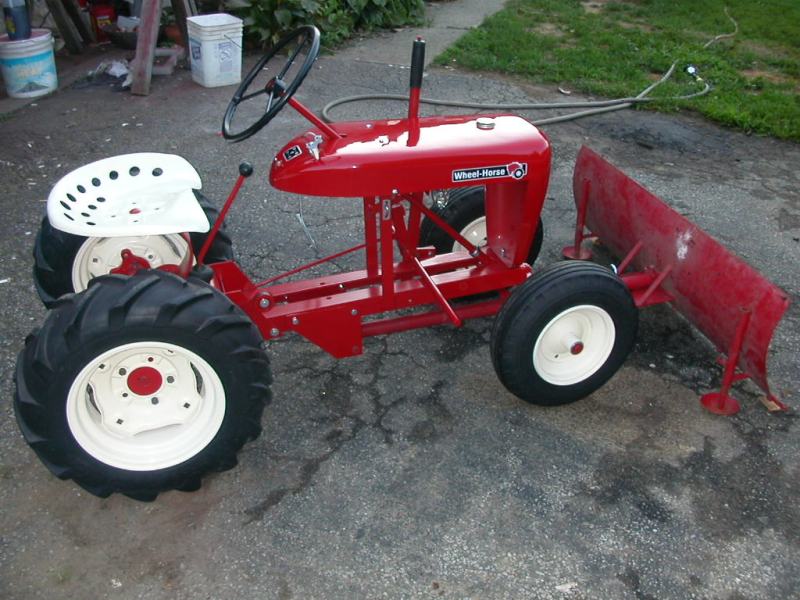 | rn 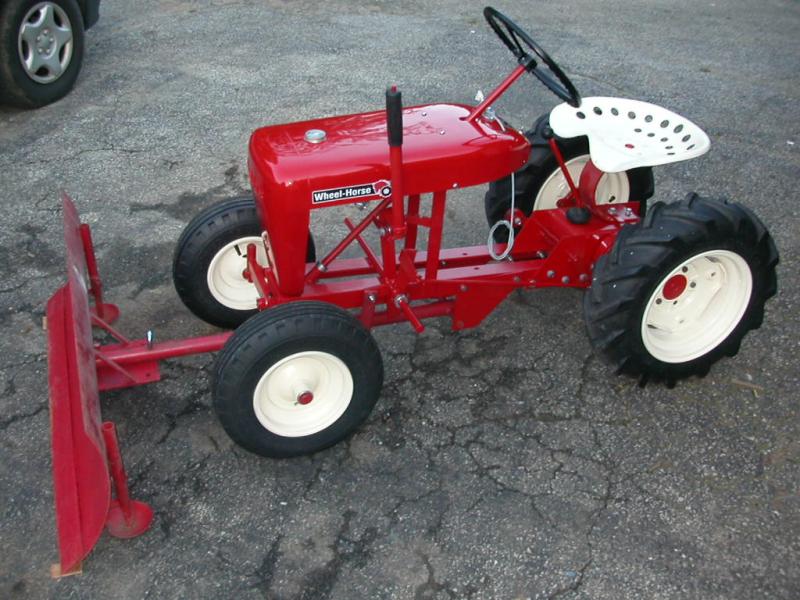 | rn rn rn | RJ58 Left-Front | rn RJ58 Right-Rear | rn RJ58 Right - With Plow | rn RJ58 Left - With Plow | rn rn rn | | rn | rn | rn | rn rn rn | | rn | rn | rn | rn rn rn rn
|
Last Updated: 2010-03-08 09:27:47 (11710 views)
|
|


