| There is a problem right now with this block. |
|
3-6. f. - Update (August 01 - 15, 2009)
|
f. - Update (August 01 - 15, 2009) rn rn rn rn | Update (August 4, 2009): The frame painting is now completed and assembly of the machine can finally move forward. Attached frame and transmission, and installed the clutch/brakes assemblies. I also dry-fitted all of the major components to insure fit and to take a picture. One thing discovered during the assembly was the configuration of the Clutch/Brake return spring. The spring is supposed to be attached to the back of the Clutch/Brake Rod cotter pin and the tail end attached to a plate bolted to the transmission. My tractor had a small hole drilled through the bottom of the Idler Arm, which has been done on many machines, but this was done after delivery and is not a normal Wheel Horse configuration. | rn rn rn | | rn | rn | rn | rn rn rn 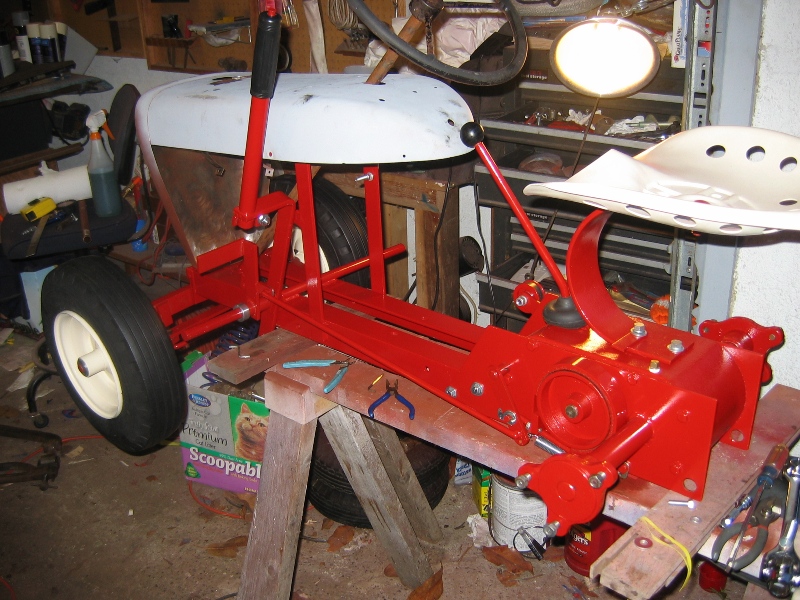 | rn 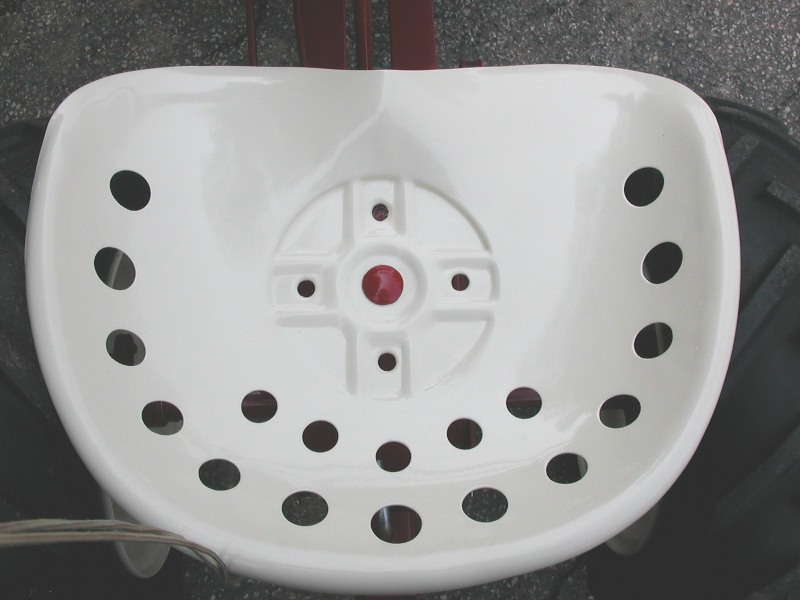 | rn 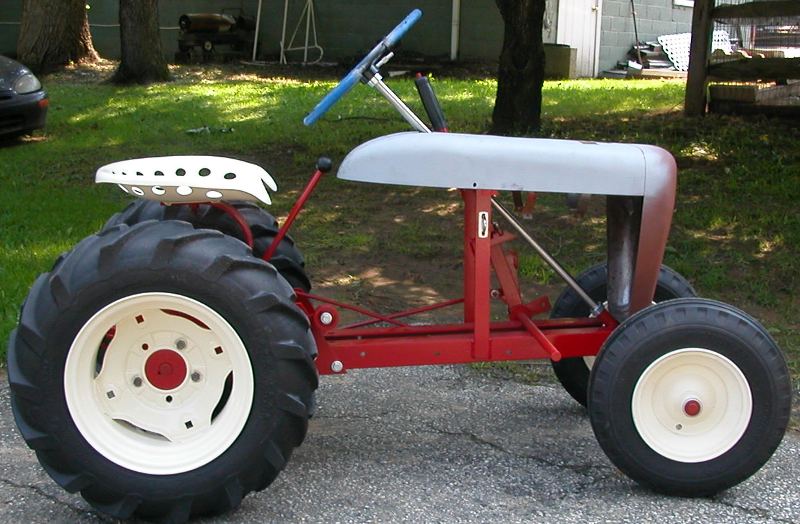 | rn | rn rn rn | Assembled Frame and Transmission | rn Clear-Coated Seat Pan & Bolt | rn Side View | rn | rn rn rn | | rn | rn | rn | rn rn rn | Update (August 6, 2009): Rear rims have been painted and are drying. All of the remaining parts have been dry-fitted to the tractor. I also tried a dangerous (to me) experiment. I was told that the Rust-Oleum Crystal Clear enamel is a very thin clear coat which is pretty much compatible with any toluene based enamel paint. Checking the can for the S/W-Antique White I found that it too is toluene based just like the Valspar IH Red. According to the cans and the directions on the Crystal Clear, the clear coat can be sprayed within two hours of paint application, or after 48 hours of paint dry time. I decided to try it out on a test panel and painted a metal sheet with both the S/W Antique White and Valspar IH Red. I waited about an hour and then immediately painted the clear over the top of both colors. Works great! It also appears that the top coat seems to smooth and flatten out much better than waiting the 48 hours. I finally said the hell with it and clear coated the seat pan. Wow, what a great shine it gives off. Also cleared the seat pan bolt too. It'll look awesome when assembled. Also received the stainless steel steering shaft. It has been cut to length, fitted and drilled, and temporarily installed with a collar for work to continue on the steering wheel. | rn rn rn | | rn rn rn | rn Update (August 9, 2009): The tractor is finally back up on her own four wheels. Completed the rear rim painting and mounting. Installed the tires without a hitch, and began the restoration of the steering wheel. The steering wheel had more damage than previously expected. Originally it appeared that only one of the hand grip areas around the spoke was damaged, but it was later discovered during restoration that all three spoke junctions were bad. I decided to replace all three bad areas and perform a standard automotive type restoration to the steering wheel. For informational purposes, a good tutorial exists for steering wheel restoration located at Second Chance Garage: Click Here to read more. rn | rn rn rn | | rn | rn | rn | rn rn rn 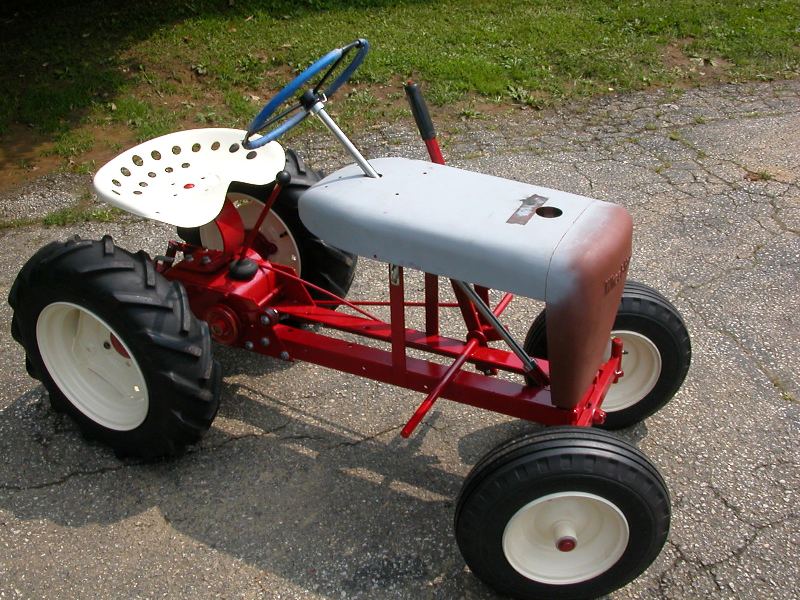 | rn 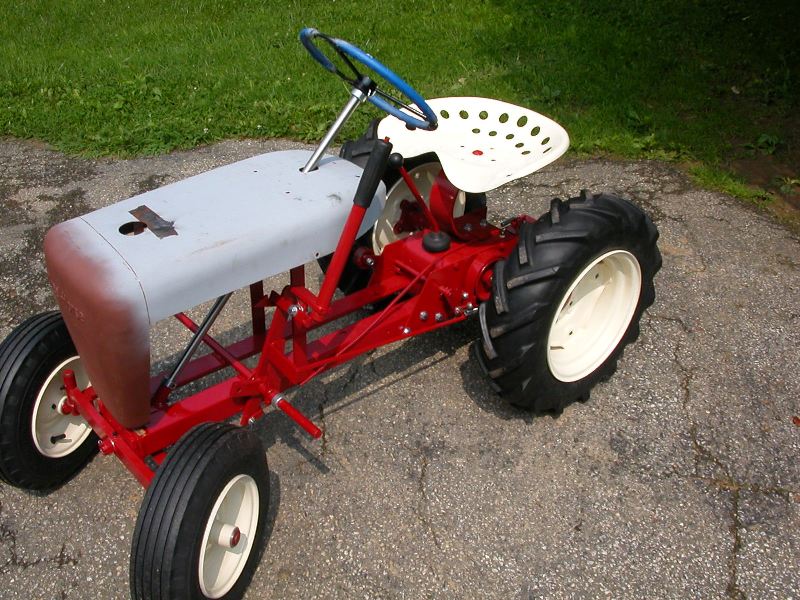 | rn 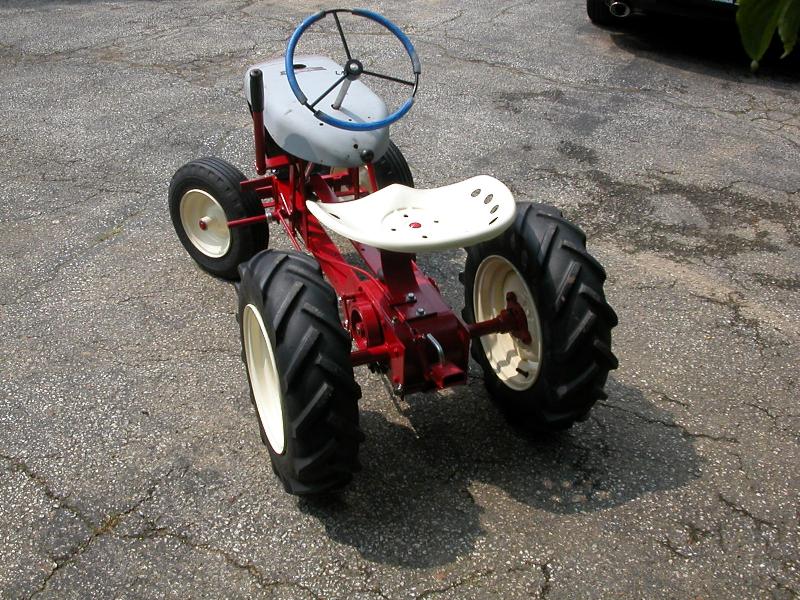 | rn 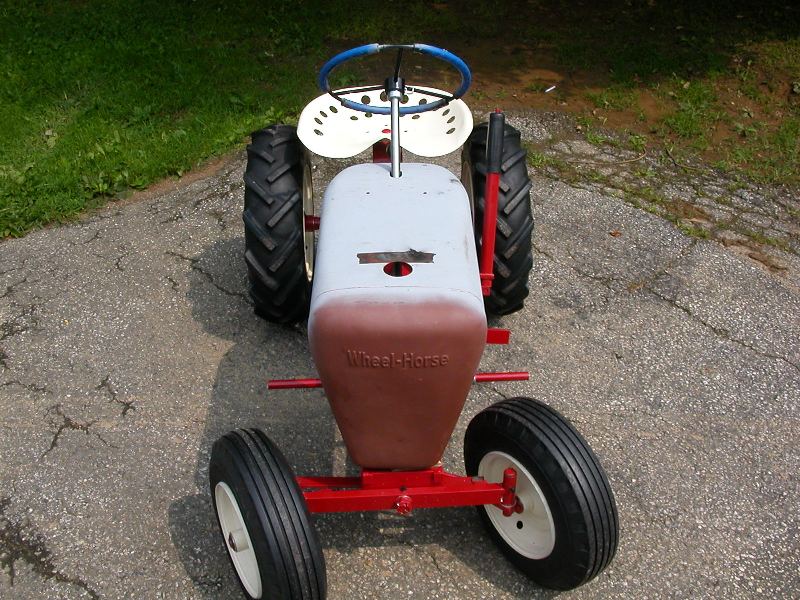 | rn rn rn Right-Front View
rn | rn Left-Front View | rn Rear View | rn Front View | rn rn rn | | rn | rn | rn | rn rn rn | Update (August 15, 2009): Began work on the hood last night. Got the inside completely stripped to bare metal, inside surfaces prepared with Bondo Rust Dissolver and Bondo Rust Prep, allowed to dry for four hours and given three coats of primer. Began work on outside of hood and payed particular attention to the nose and top. Completely sanded the entire topside to bare metal and cleaned out the parting line to the nose. Applied three coats of primer and allowed to dry overnight. Will begin wet-sanding final spot glazing tomorrow. | rn rn rn | | rn | rn | rn | rn rn rn | Update (August 13, 2009): The Steering Wheel has been completed and is now returned to its former glory. The steering wheel had significant damage at all three spoke to wheel intersections. I have a second steering wheel which has a good hand-grip, but the hub to spoke damage made it unusable for a restore project. Using RTV casting material, I cast a mold of the grip to spoke intersection area, and used the mold to recast the three damaged areas of the usable wheel. The steering wheel repair material is PC-7 Epoxy, which is used in the automotive restoration circles for steering wheel repair. A whole lot of sanding and finishing later we arrive at the picture below. | rn rn rn 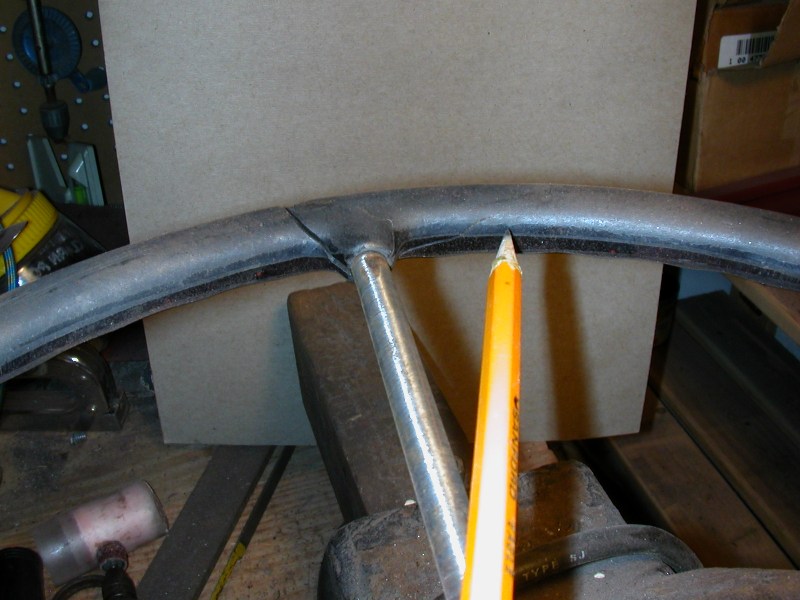 | rn 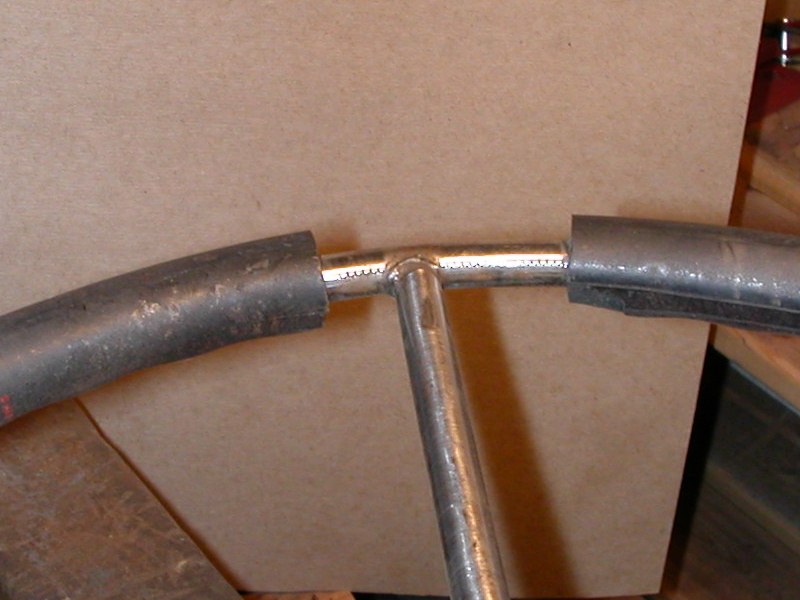 | rn  | rn 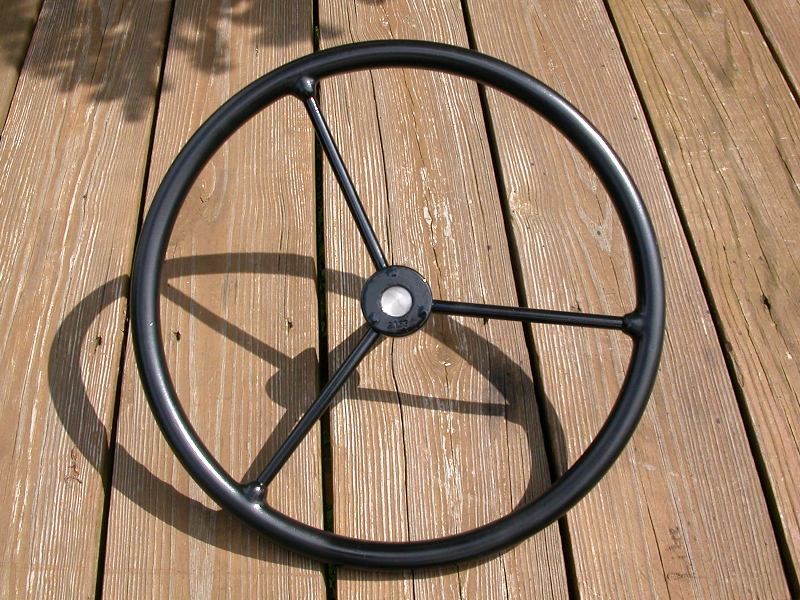 | rn rn rn | Damaged Handle | rn Cut-Out Damage | rn Prepared Steering Wheel | rn Completed Steering Wheel | rn rn rn | | rn | rn | rn | rn rn rn
|
Last Updated: 2010-03-08 09:10:35 (6690 views)
|
|


 Previous