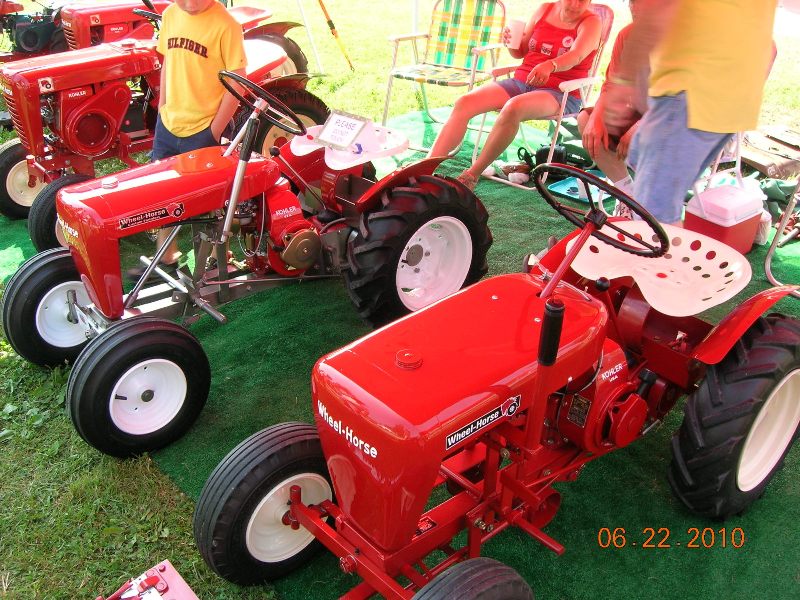
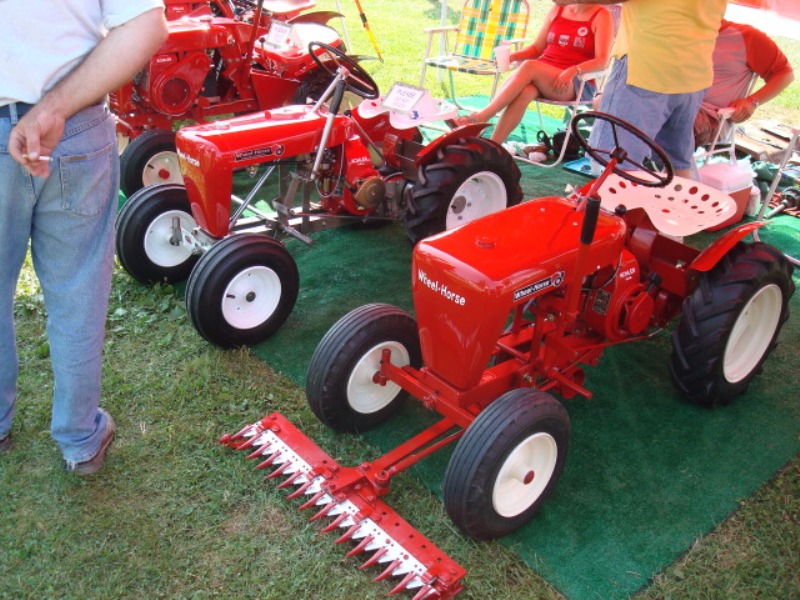
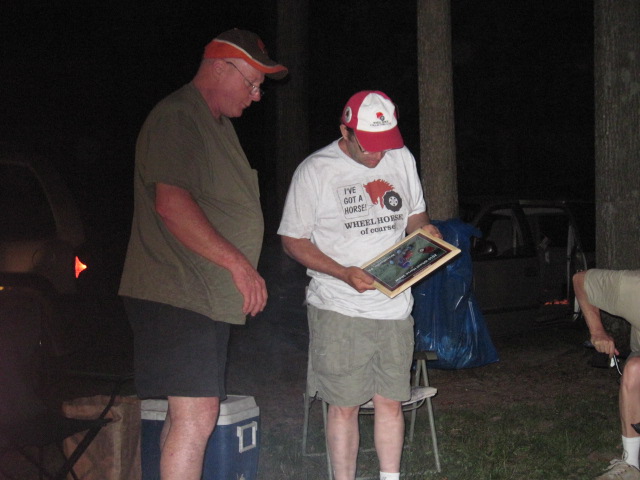
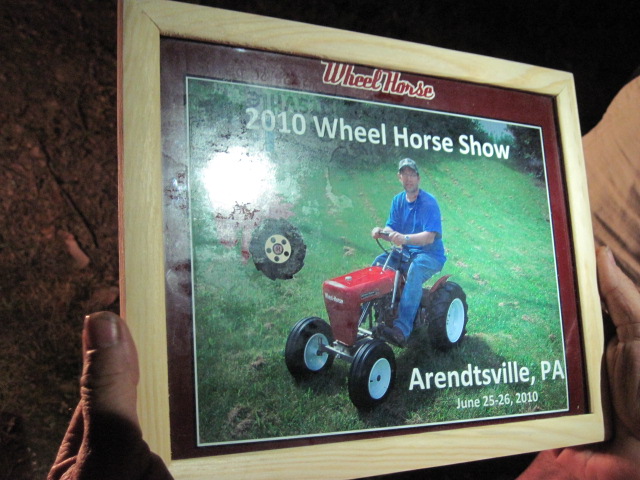
June 24-25, 2010 (Arendtsville, PA): First shown at the 2010 12th Annual "All" Wheel Horse Show.
rn
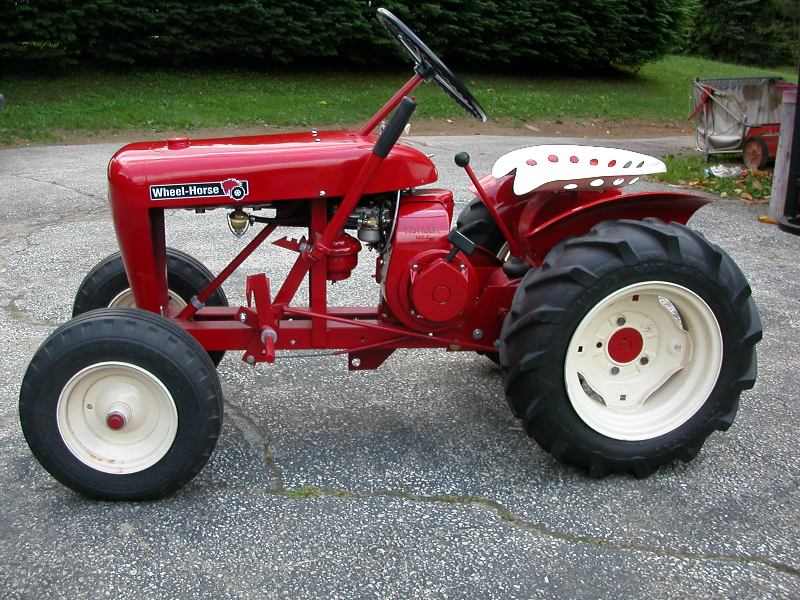
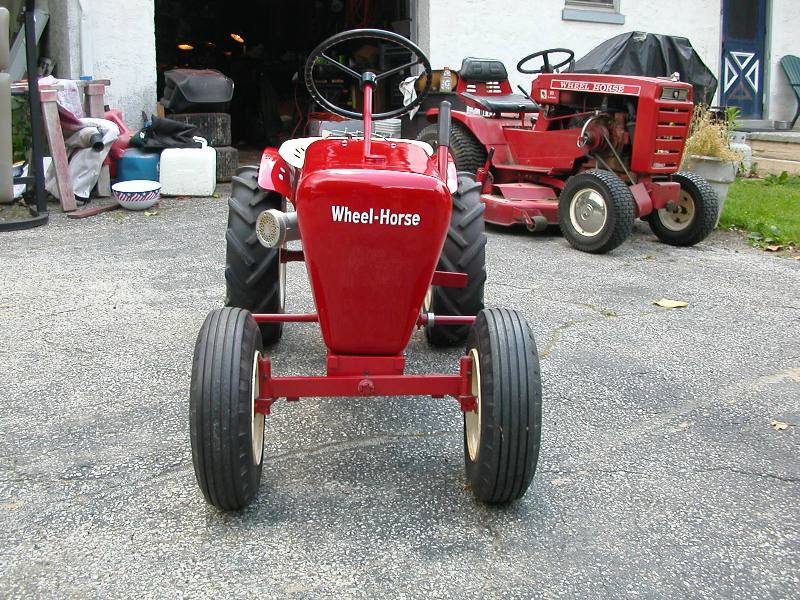
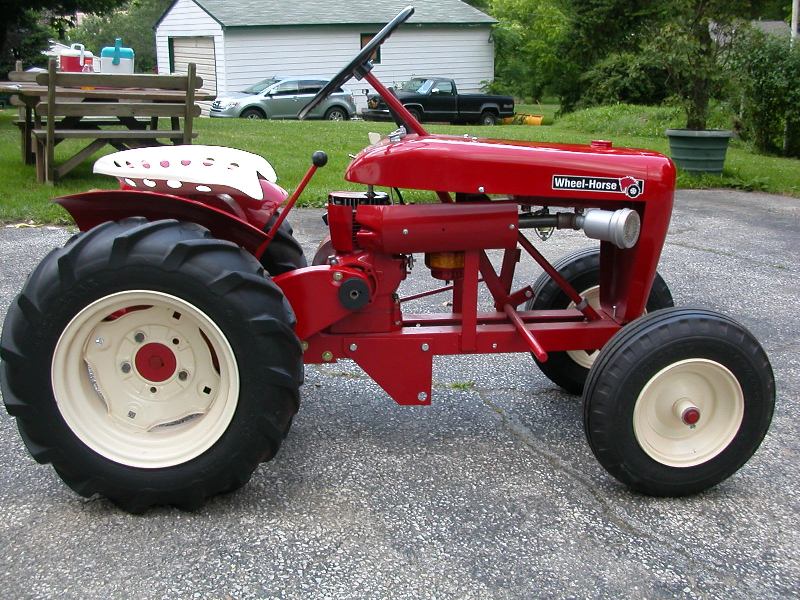
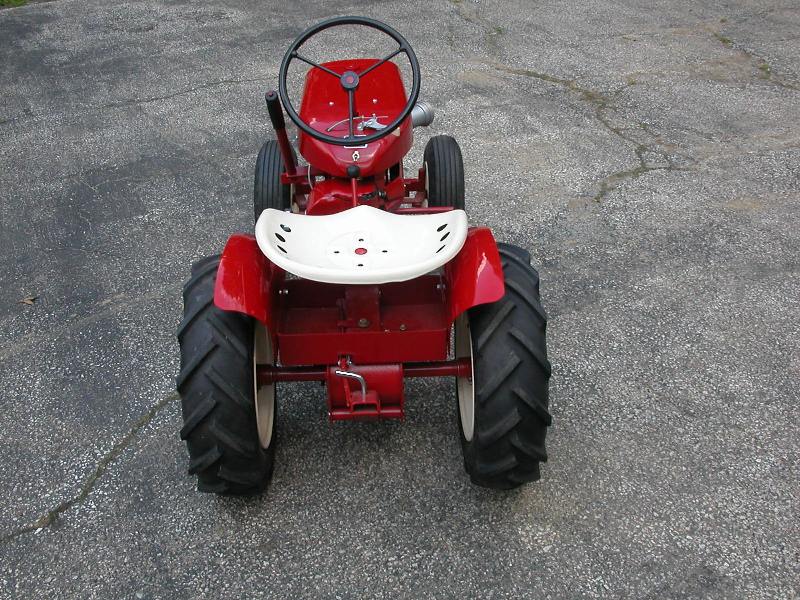
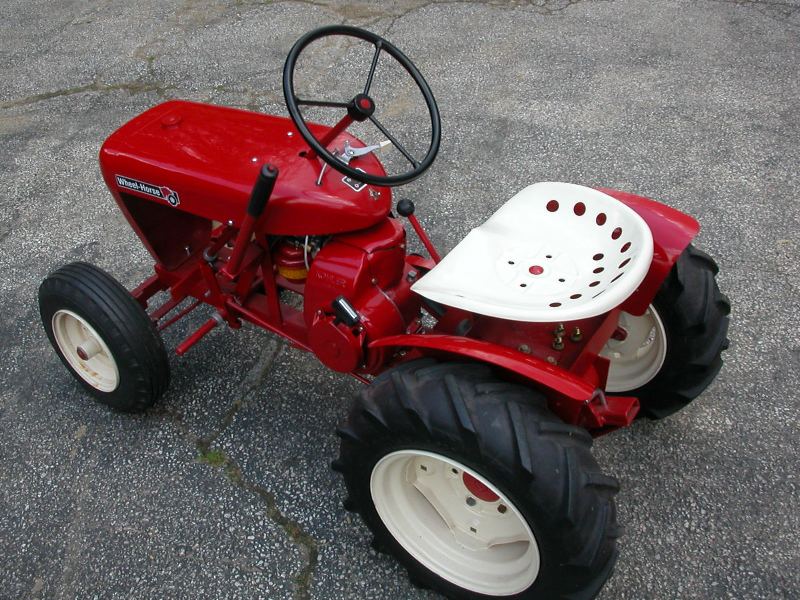
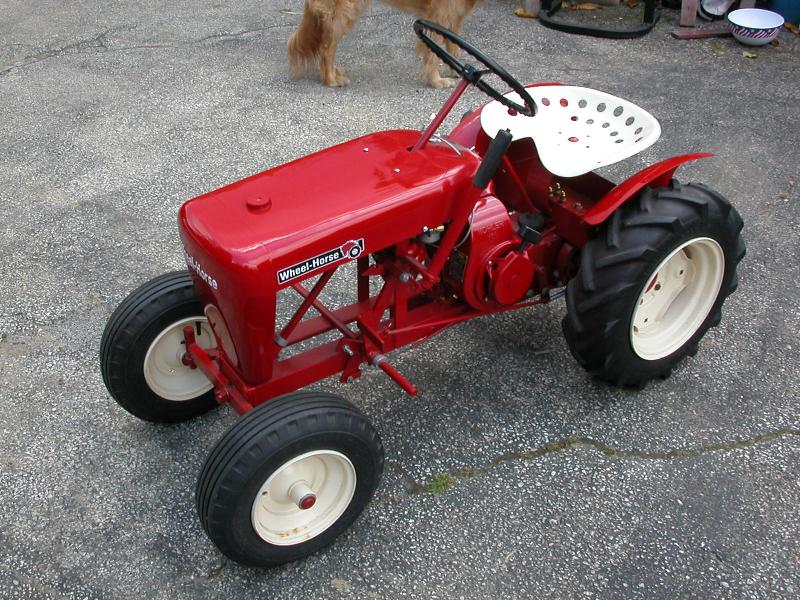
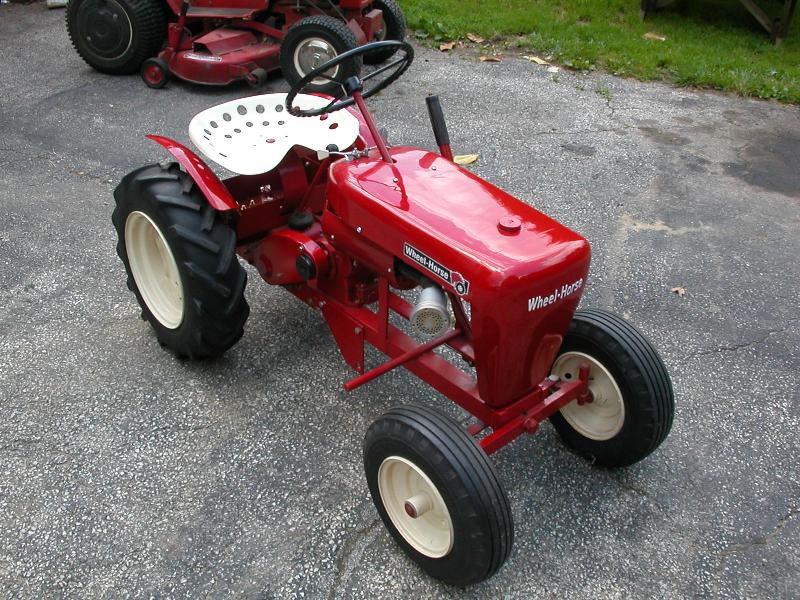
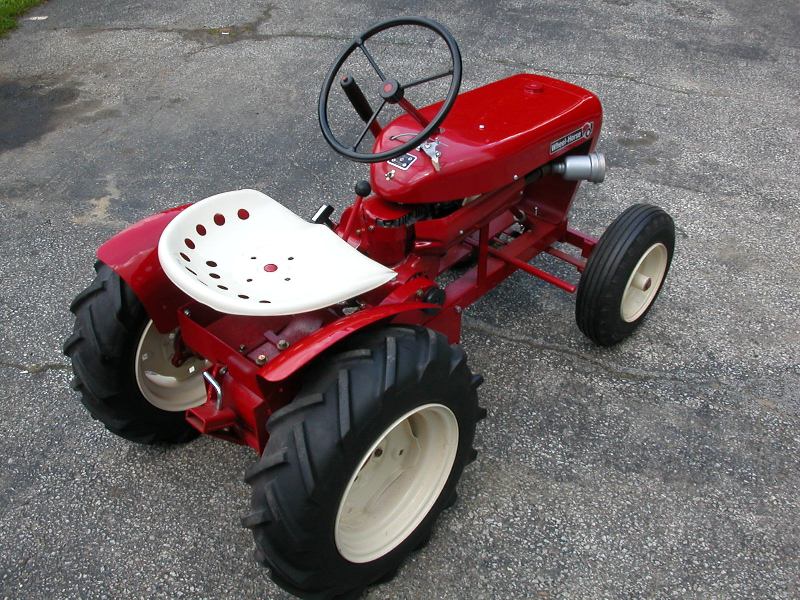
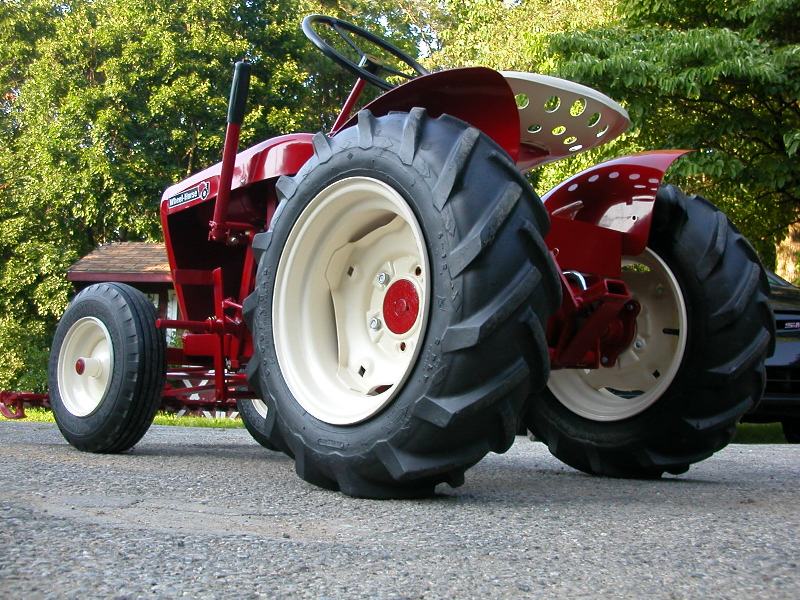
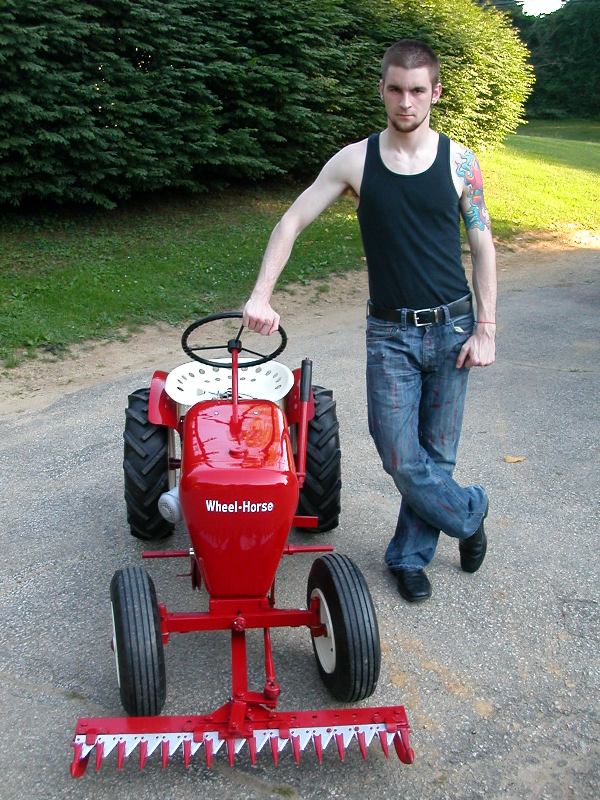
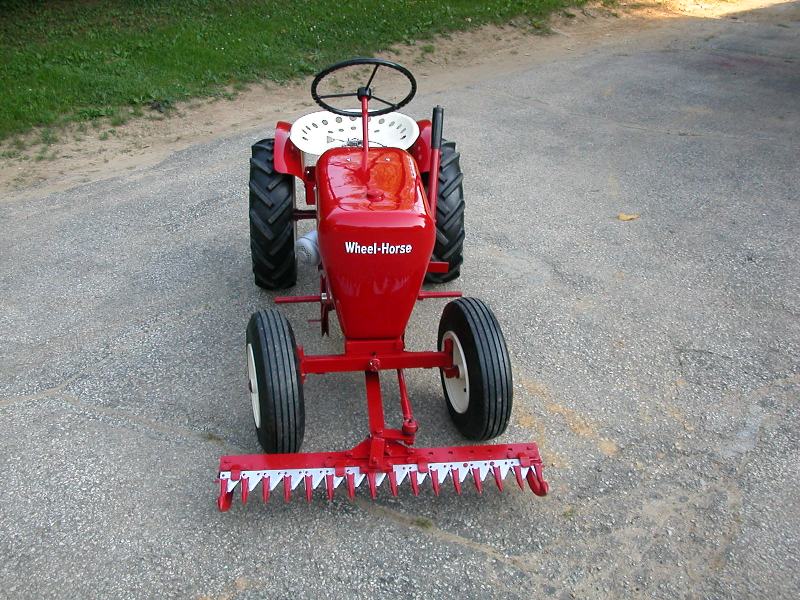
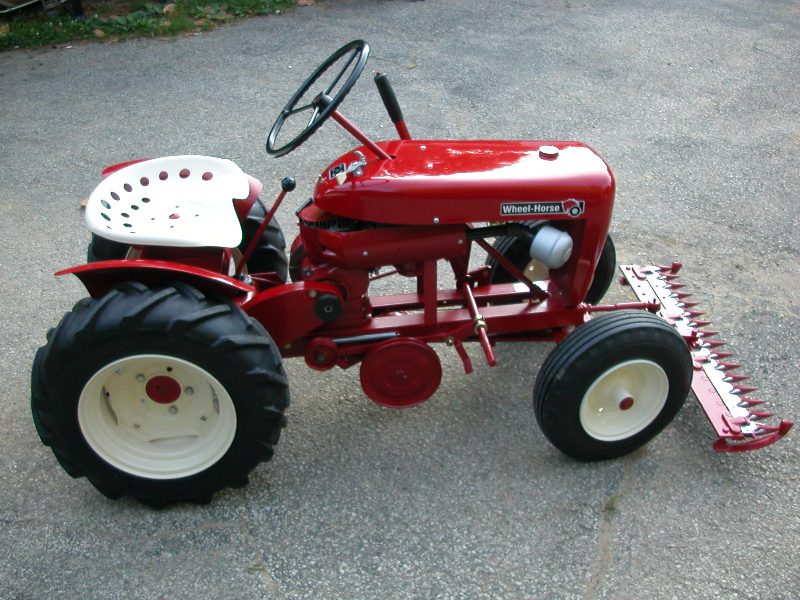
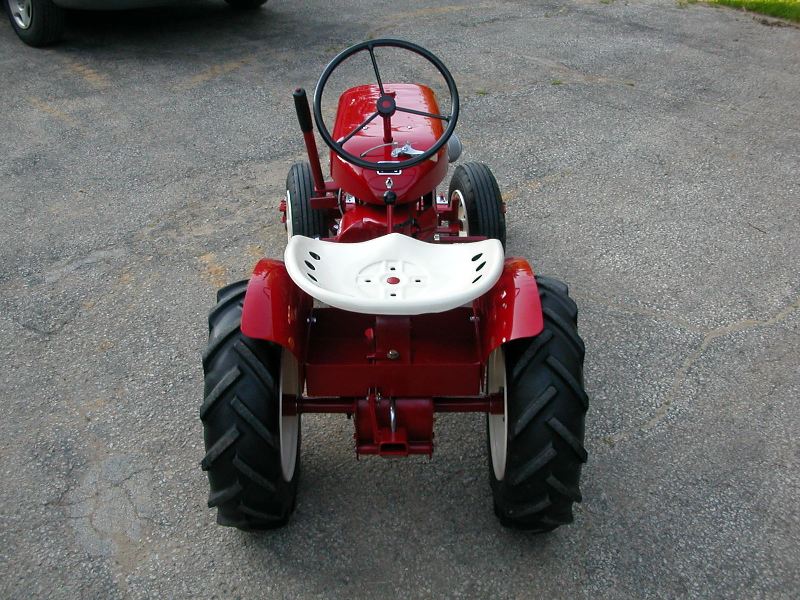
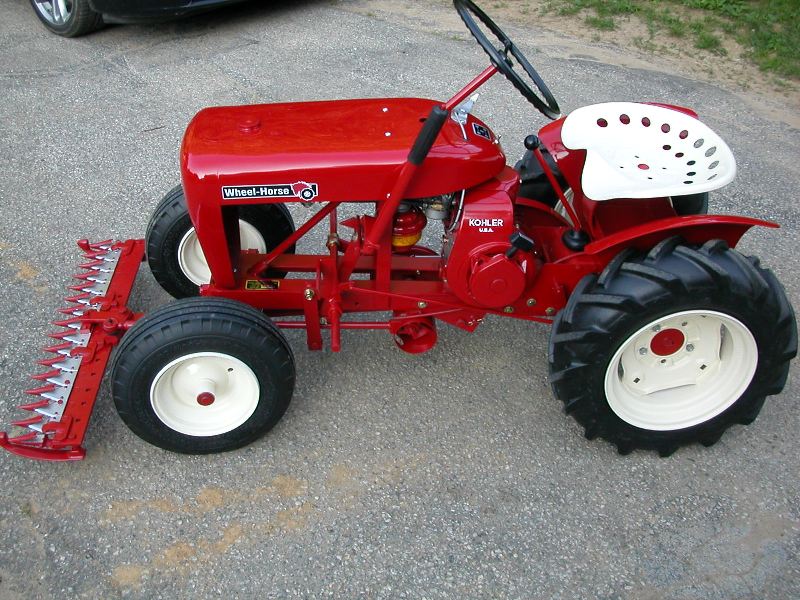
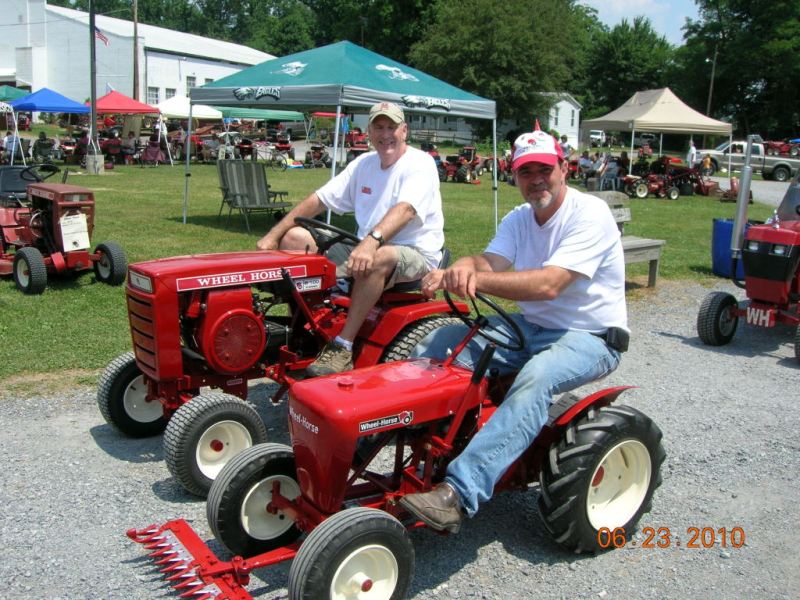
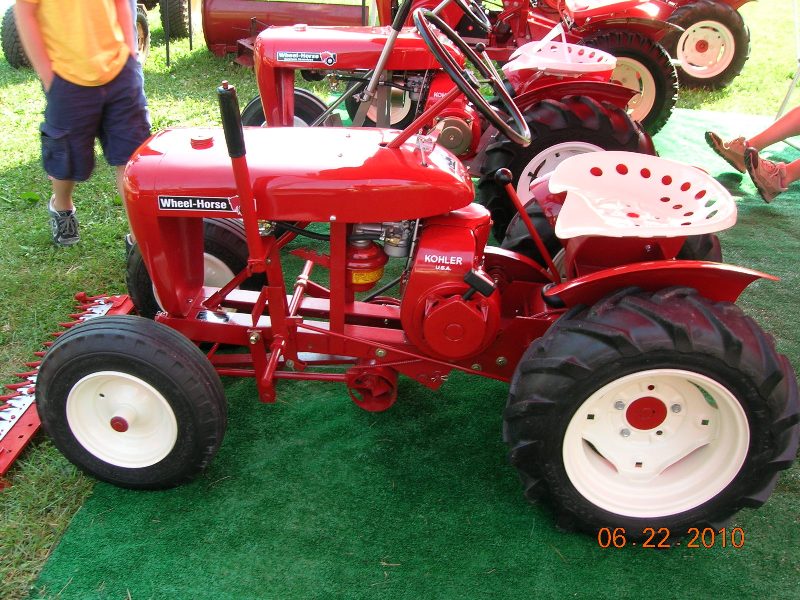
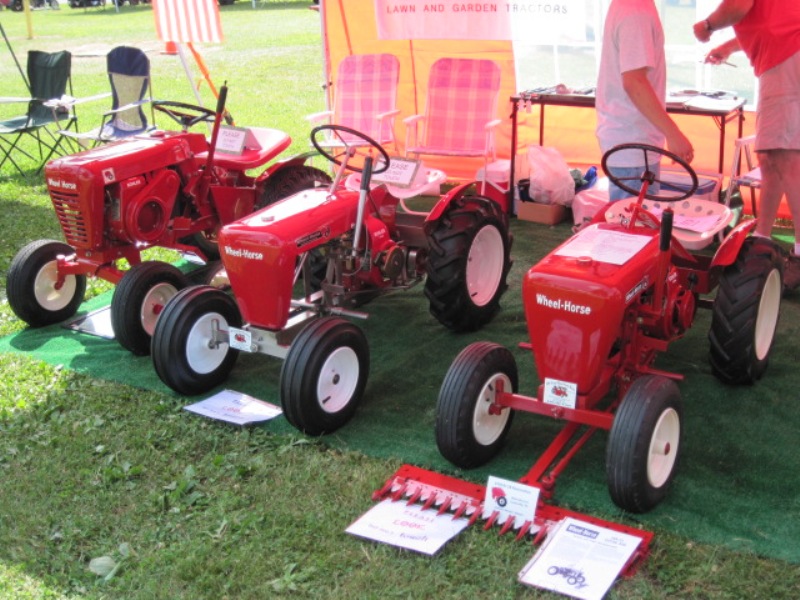
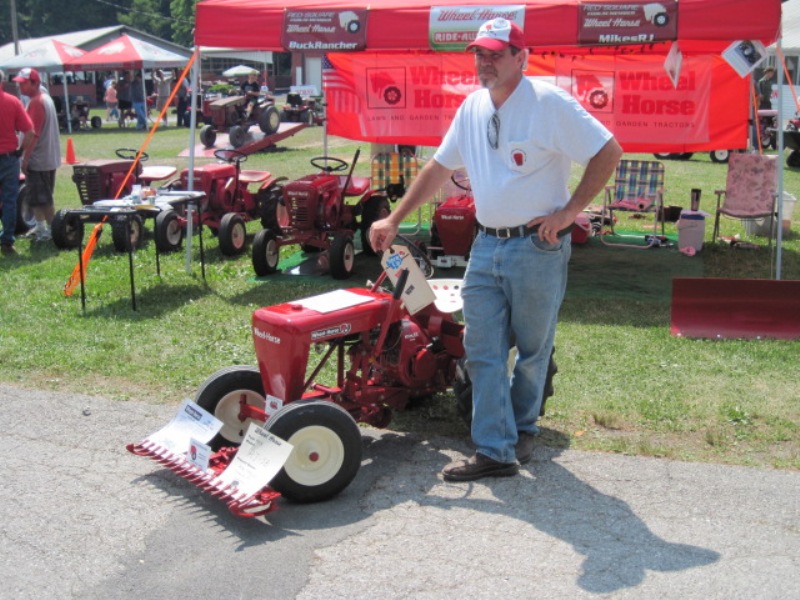
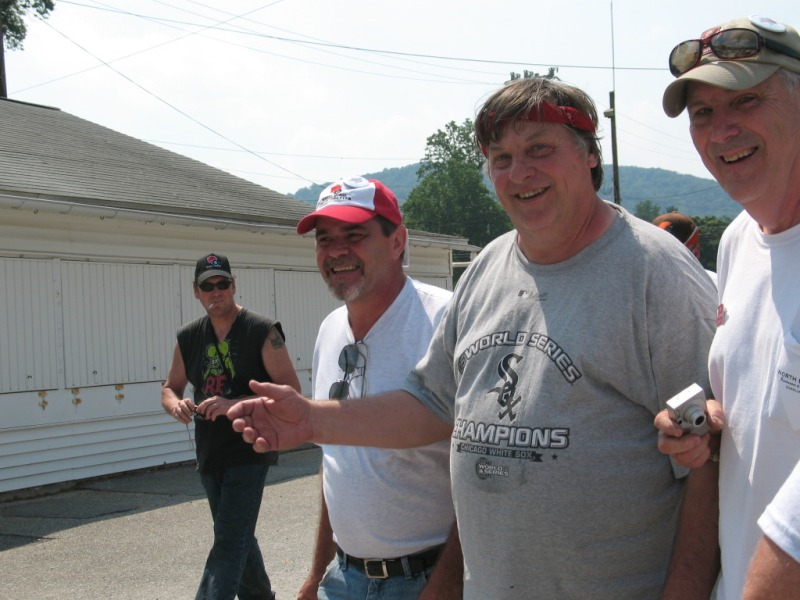
This tractor was first shown in Arendtsville, PA at the 12th Annual All Wheel Horse Show on June 24-25, 2010 alongside Brian Marrion's Stainless Steel RJ-58 and his 1964 854. We all had a great time and all of the tractors were great to see.
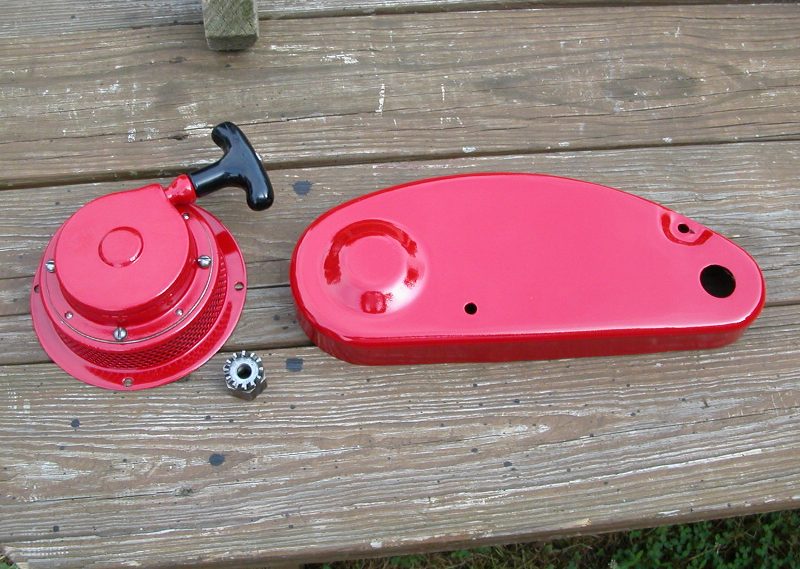
July 16, 2010: New additions to the RJ-58 since the show. I have acquired a Schnake Recoil and an original Transmission Belt Cover. Both have been fully restored and will be installed soon. The only part I am currently looking for is a Carter N old style, round bottomed, Float Bowl and matching Float.
June 31, 2010 - Closing Thoughts: Based on the experience derived from this restoration, I've come to a few conclusions which warrant putting forth to all those undertaking an effort such as this.
rn rn
Pictures: Take a million of them BEFORE YOU START. Try to get every last detail, and keep the camera handy while you dis-assemble the machine. The pictures will become very valuable when you reassemble the machine a few months from now.
rn
Reference Materials: Have all the manuals you can find at your electronic and paper disposal before you begin. These manuals will be used throughout the process to help identify missing parts, correct assembly, and replacement part numbers.
rn
Gather Parts and Materials Needed: Try to get all your parts and pieces together before you start the restoration. This will reduce the sand blasting time to a minimum, reduce the setup and re-setup times, and gives you an opportunity to perform each painting task a single time. Sand blasted parts must be primed immediately to reduce "flash-rust". Have the sand blaster and the primer ready to go and as parts are blasted, immediately prime the parts. By the time you are finished blasting the last parts, all of the parts will be ready for paint the following day after sanding.
rn
Part Inspection, Repair/Refurbishment, and Replacement: If your going to take it completely apart, it just makes sense to fix it completely right the first time. Don't take shortcuts when it comes to part quality, if it looks bad and cannot be restored or fixed, replace it. There is nothing worse than reassembling the machine and it looks perfect, then you have to take it all apart because a $5.00 part failed. You wind up with a scratched up finish and broken paint lines. Just fix it right the first time and this won't be an issue.
rn
Part Preparation: Using a media blaster makes the work go so much quicker, I believe that I could have completed this project in less than half the calendar time had I prepared all the parts by sand blasting. I also have discovered that primer adhesion is significantly better (on the order of 5x better) when applied to a sand blasted part versus a sand paper sanded part.. The paint will last far longer over a sand blasted part in the long run.
rn
Paint: I completed this project entirely using spray can paint. After tallying up the number of cans used I find it would have been far cheaper in the long run to have purchased and used the gallon size cans from Tractor Supply Company. Even including the hardener and thinner requirements, plus the purchase price of the small quantity spray equipment, the overall cost would have been much less than half that of the spray can price. I also believe, based on later experimentation, that the spray paint is far less hard and therefore durable, than the paint sprayed form an automotive spray gun.
rn
Re-Assembly Process: Begin the restoration process in the assembly process order. Start with the rims, then the frame, then the transmission. Assemble these parts so you get back to a "rolling frame" as soon as possible. This makes the remaining assembly a breeze to accomplish.


 Previous