| There is a problem right now with this block. |
|
3-5. e. - Update (July 16 - 31, 2009)
|
e. - Update (July 16 - 31, 2009) rn rn rn rn | rn Update (July 17, 2009): A back injury has slowed progress somewhat. Replaced the bronze bearings in the Differential Gear & Case, and have it reassembled and ready to install. Replaced the bronze bearings in the Cluster Gear and Reverse Idler, and the roller bearing in the Drive Shaft end. One note on bronze bearing installation, which will insure the transmission is right, on the first try at assembly. Be sure to use a brake cylinder hone on the newly installed bearings to insure they are absolutely round and clean-walled. Only hone enough to make the ID no more than 0.0005-0.001" (that's a half to one thousandths over) larger than the shaft they are designed to hold. Lightly oil the bronze bearings and the shaft with 90 weight gear oil before assembly. rn All R12 bearings are installed with 5/16" wide bearings. Bearings normally come in a cosmoline type grease, which can make the bearings very stiff to turn when new. Thoroughly pre-clean the bearings with brake cleaner to remove the cosmoline, and pre-lubricate with 90 WT gear oil before installation. The three locations calling for 3/8" wide R12 bearings, the inside bearing on the Drive Shaft; the right-inside bearing on the Brake Shaft, and the left side bearing on the Cluster gear, have 1/16" thick bearing spacers installed behind the bearings to make up the extra width. 5/16" and 3/8" bearings are identical internally, and only the inner and outer race widths are different. They both carry identical loads, so there is no mechanical penalty for doing so. rn Waiting on the arrival of the Axle Shaft bronze bearing and the Axle Shaft Oil Seal. Once the remaining parts arrive, the transmission reassembly will be completed, and the transmission primed, prepped and painted. Once the transmission is completed, the rest of the assembly will go a lot faster. rn Completed preparations for paint on the frame. Will paint the frame at the same time the transmission is painted,(though separately from one another . rn The forward tank strap on the hood has been fabricated, and the hood and strap sent to the welder for repairs. One hole in the hood is to be repaired, as one tank strap weld broke through when the broken strap was removed, and the installation of the new strap performed. Should be done by Tuesday next week. rn | rn rn rn | | rn rn rn | rn Update (July 22, 2008): Tire Black Paint from M. E. Miller Tire, Co. has arrived on the 22nd. and has been applied to the four tires. This is a very impressive product for restoring rubber wheels, especially 50 y/o ones. The product comes in a concentrate form and must be mixed 50/50 with water. It can be brushed on, wiped on with a rag, applied using a foam brush, as well as being sprayed on using spray painting equipment. After drying, no brush strokes where visible and the material dried to the touch in about half an hour. The results are very impressive. rn To complete this process I prepared the tires by putting a little brake fluid on the paint splatters on the tires sides, so I could remove as much of the white paint as I could. Some of the paint remained after this cleaning in the form of a white haze and a few small spots which would not come off. I tried scraping and wire brushing the surface, but they remained. I then used a scrub brush and dawn dish detergent to remove any oil residues, and remove/clean any rust residue and embedded dirt from the tires exterior surfaces.
rn
rn 1. The concentrated material was mixed 50/50 with warm water, per the package directions (RTFI). When mixed as directed it has the consistency and thickness of whole milk.
rn 2. I setup a pair of saw horses with 1x3's nailed to the tops as outriggers off the ends of the horses.
rn 3. Set the tires on the outrigger so that they were supported by the two inner beads, and accessible on all sides.
rn 4. Using a standard 1-1/2" horsehair paint brush, I painted the tread area first (all the way around) and "feathered" the paint slightly over the edge of the sidewall.
rn 5. Painted the first side of the tire, cleaning up the feathered area as I went around the tire.
rn 6. Turned the tire around on the outrigger, and painted the other side in the same manner.
rn
rn Total time to paint all four of the tires, about an hour. I used about 3 oz. of product to paint all four (3 oz. material + 3 oz. warm water = 6 oz. of "paint"). Half an hour later, they were dry to the touch. The paint seems to absorb into the tire quite well, leaves a glossy matte finish like a new tire, and does not appear to need a second coat. I plan to do a second coat anyway, but will be done after tires have been re-mounted on the rims. Keep in mind this product is not intended to be applied like a paint. It's supposed to be applied like a dye, but does have enough body to fill small surface imperfections and cover paint splatter and surface stains.
rn
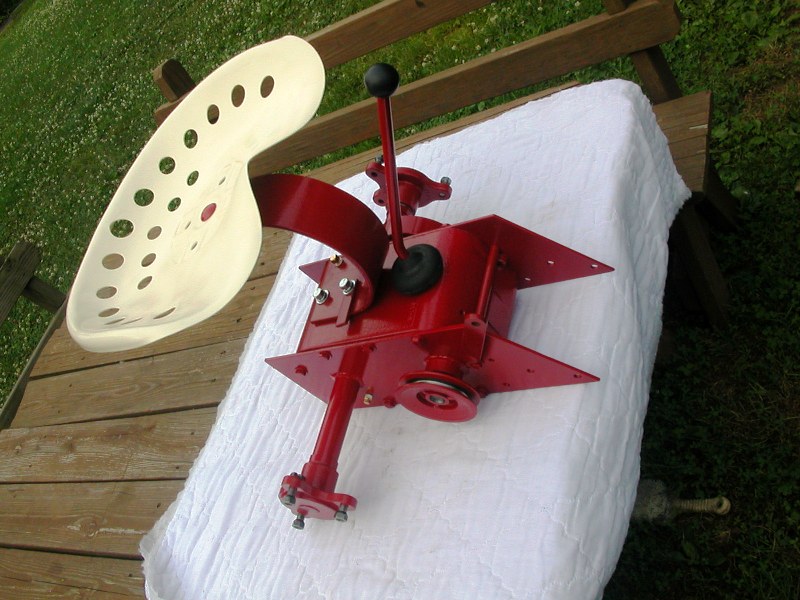
rn I expect the rims will get scratched a bit during the re-mounting process, so I plan to have them mounted without having the tubes installed. This way I can wrap the tires in newspaper, touch-up or completely repaint the rims as necessary, install the tubes, inflate the wheels, then give the tires a second very thin coat of paint. I expect they will look picture perfect when done. I also put a test patch of Black Tire Paint on our van so I can see how the stuff wears in the "real world". I'll report on that later. rn | rn rn rn | | rn rn rn Update (July 24, 2009): Nothing else has been done to the tires in the last picture in the series below! The Black Tire Paint is pretty cool and impressive stuff (  IMHO), and the tires, in combination with the refinished rims, look like they are brand new. The product even covered the white paint smudges and splatter (that I couldn't get to come off from the previous owner's wheel painting) with ease. A little "Armor-All" or "Wet Shine" and they'll be show-ready. As an additional restoration "enhancement" the front rims wheel bearings were replaced with ball bearings (WH P/N: 1514, aka Toro 108483). This will enhance the long term preservation of the front axles and spindles. IMHO), and the tires, in combination with the refinished rims, look like they are brand new. The product even covered the white paint smudges and splatter (that I couldn't get to come off from the previous owner's wheel painting) with ease. A little "Armor-All" or "Wet Shine" and they'll be show-ready. As an additional restoration "enhancement" the front rims wheel bearings were replaced with ball bearings (WH P/N: 1514, aka Toro 108483). This will enhance the long term preservation of the front axles and spindles. | rn rn rn 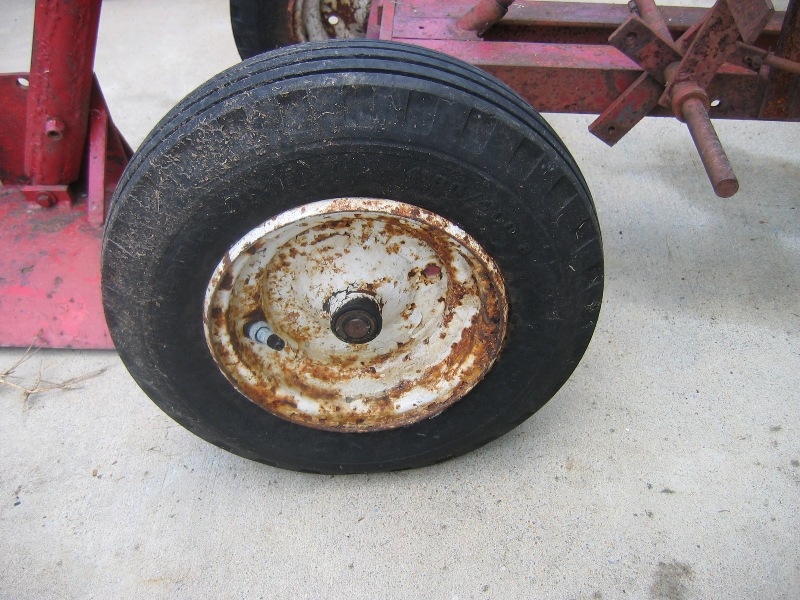 | rn  | rn 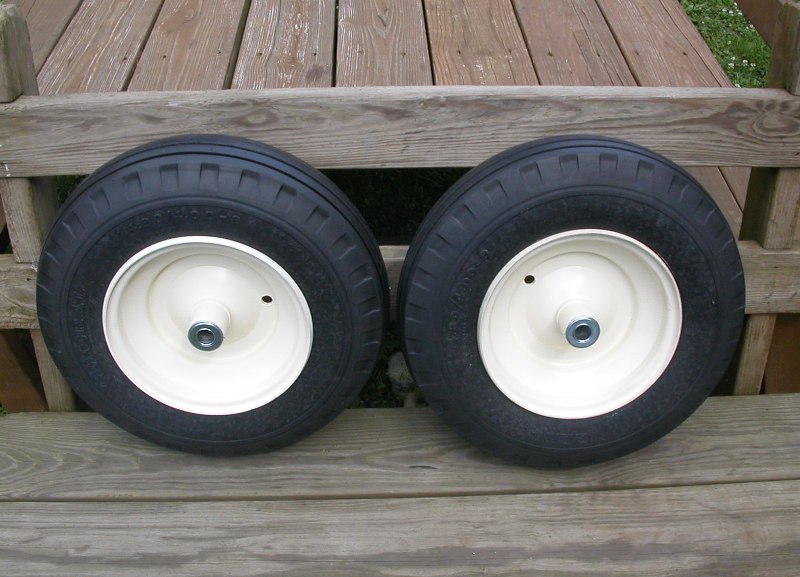 | rn | rn rn rn | Front Wheel after power Washing | rn Front Tires after "Black Tire Paint" | rn Pretty Horse Shoes | rn | rn rn rn 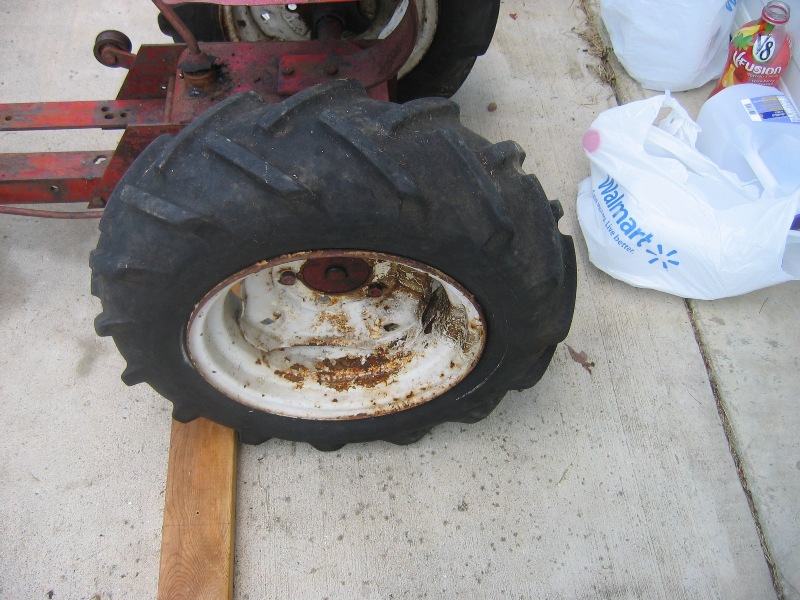 | rn 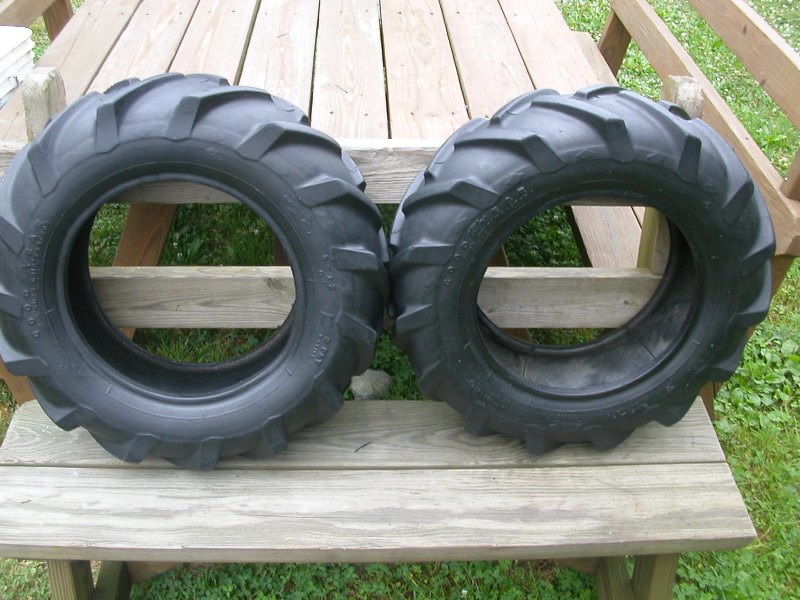 | rn 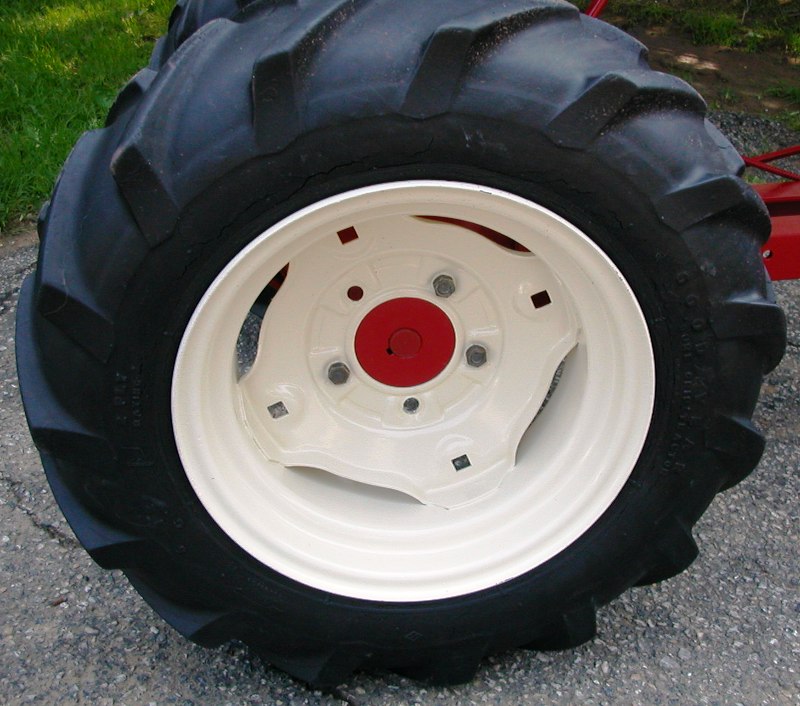 | rn | rn rn rn | Front Wheel after power Washing | rn Rear Tires after "Black Tire Paint" | rn Close-up of Finished Rear Wheel | rn | rn rn rn | | rn | rn | rn | rn rn rn | rn Update (July 25, 2009): The transmission is now completely rebuilt and is in its first coat of red paint this morning. It will be allowed to dry under the IR heat lamps, and one more coat added before proceeding. Rear Rims will be next, followed by the Frame and Hood when they return from the welders. The second coat of paint has been applied this evening to the Transmission, Rear Wheel Hubs, Brake Band, Brake Drum, Idler Pulley, and Drive Pulley in preparation for the Transmission reassembly. rn Update (July 26, 2009): The rear end is getting quite near to complete. All I need to locate is a Pin, Draw Bar Hitch (WH P/N: 3572) so I can attach the hitch. I have already located a Tool Pin (WH P/N: 1813) and manufactured a Lug, Cable-Clamping (WH P/N: 3583). All that remains is to install the hitch and associated hardware and mount the rear tires. The transmission has also been filled with 90W Gear Oil for the first time. No leaks is a good sign to start with. We'll see what happens when we run it up for the first time and everything gets warm. All of the external hardware has been replaced with polished Stainless Steel (S/S), even the Cotter Pins are S/S. Also, the Pipe Plugs have been changed from Steel to Brass strictly for appearance and to preclude the plugs from "freezing" in the cast iron threaded holes. The Brake Rod is currently captivating the brake instead of the lock-nuts being behind the Brake Band. This is meant to keep the Drive Idler Arm (and Pulley) in the up position during assembly to the frame. Once the frame is attached, and the Clutch/Brake Pedal is installed with its linkages, then the Brake Rod end can be configured correctly and the brakes adjusted. rn | rn rn rn 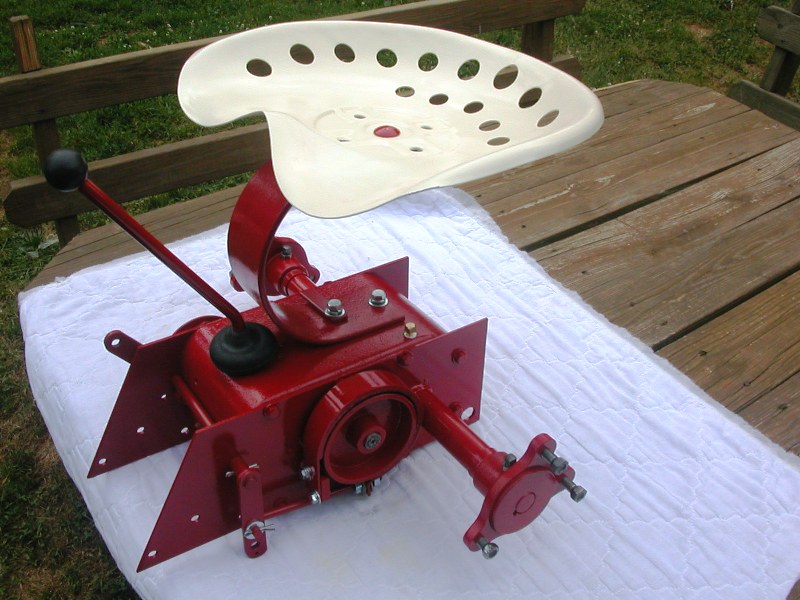 | rn 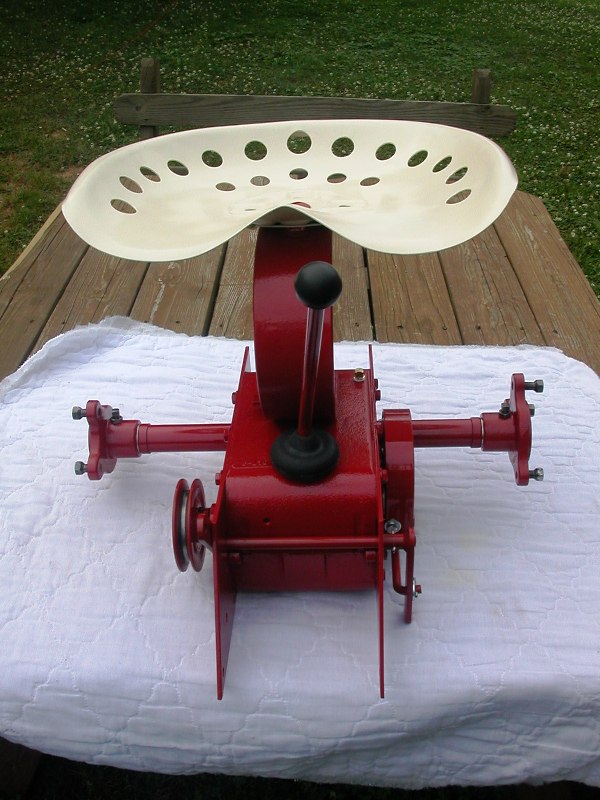 | rn 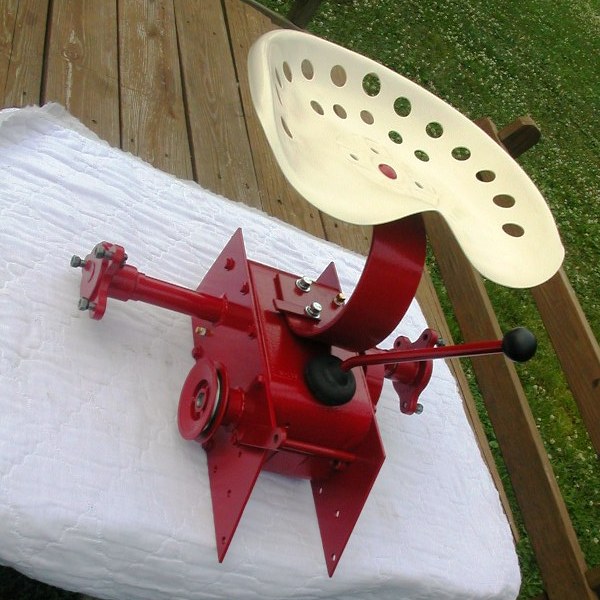 | rn 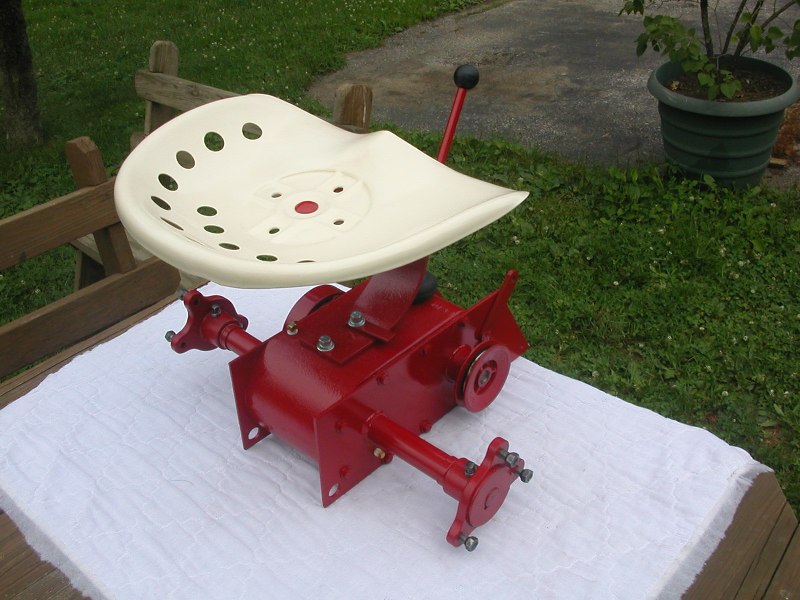 | rn rn rn | Left Side View | rn Front View | rn Right Side View | rn Rear View | rn rn rn 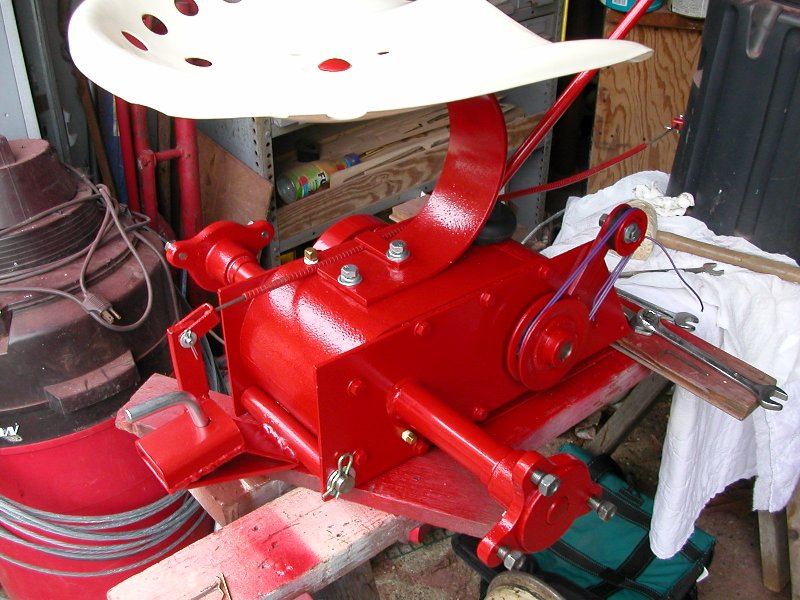 | rn  | rn | rn | rn rn rn | Completed Rear End | rn Completed & Installed | rn | rn | rn rn rn | | rn | rn | rn | rn rn rn | rn Update (July 31, 2009): For lack of a "Pin, Draw Bar Hitch" I decided to fabricate a temporary replacement from 3/4" stainless steel bar stock. The original hitch pin is a 3/4" shaft with a 1" diameter flange at one end and a 1/8" receiver pin hole in the other. Since one is not forthcoming anytime soon, I made the part you see in the last two pictures above so that I could continue with the assembly. The manufactured part simply has receiver pin holes in both ends. So it looks right from either side, just not from straight behind. Does that make if 2/3 right? Once a suitable replacement is located, switching it out will be a two minute job. The hood and frame returned from the welders on July 28, 2009. The front tank strap looks great as does the welding performed on both parts. Work will begin on the frame as soon as the rain lets up a little. The rear tire mounting will follow, and the hood will be the last part, as it needs full attention to be done right. rn | rn rn rn | | rn | rn | rn | rn rn rn
|
Last Updated: 2011-02-01 14:27:07 (9878 views)
|
|


 Previous